WordPress backup with UpdraftPlus
Installation of UpdraftPlus
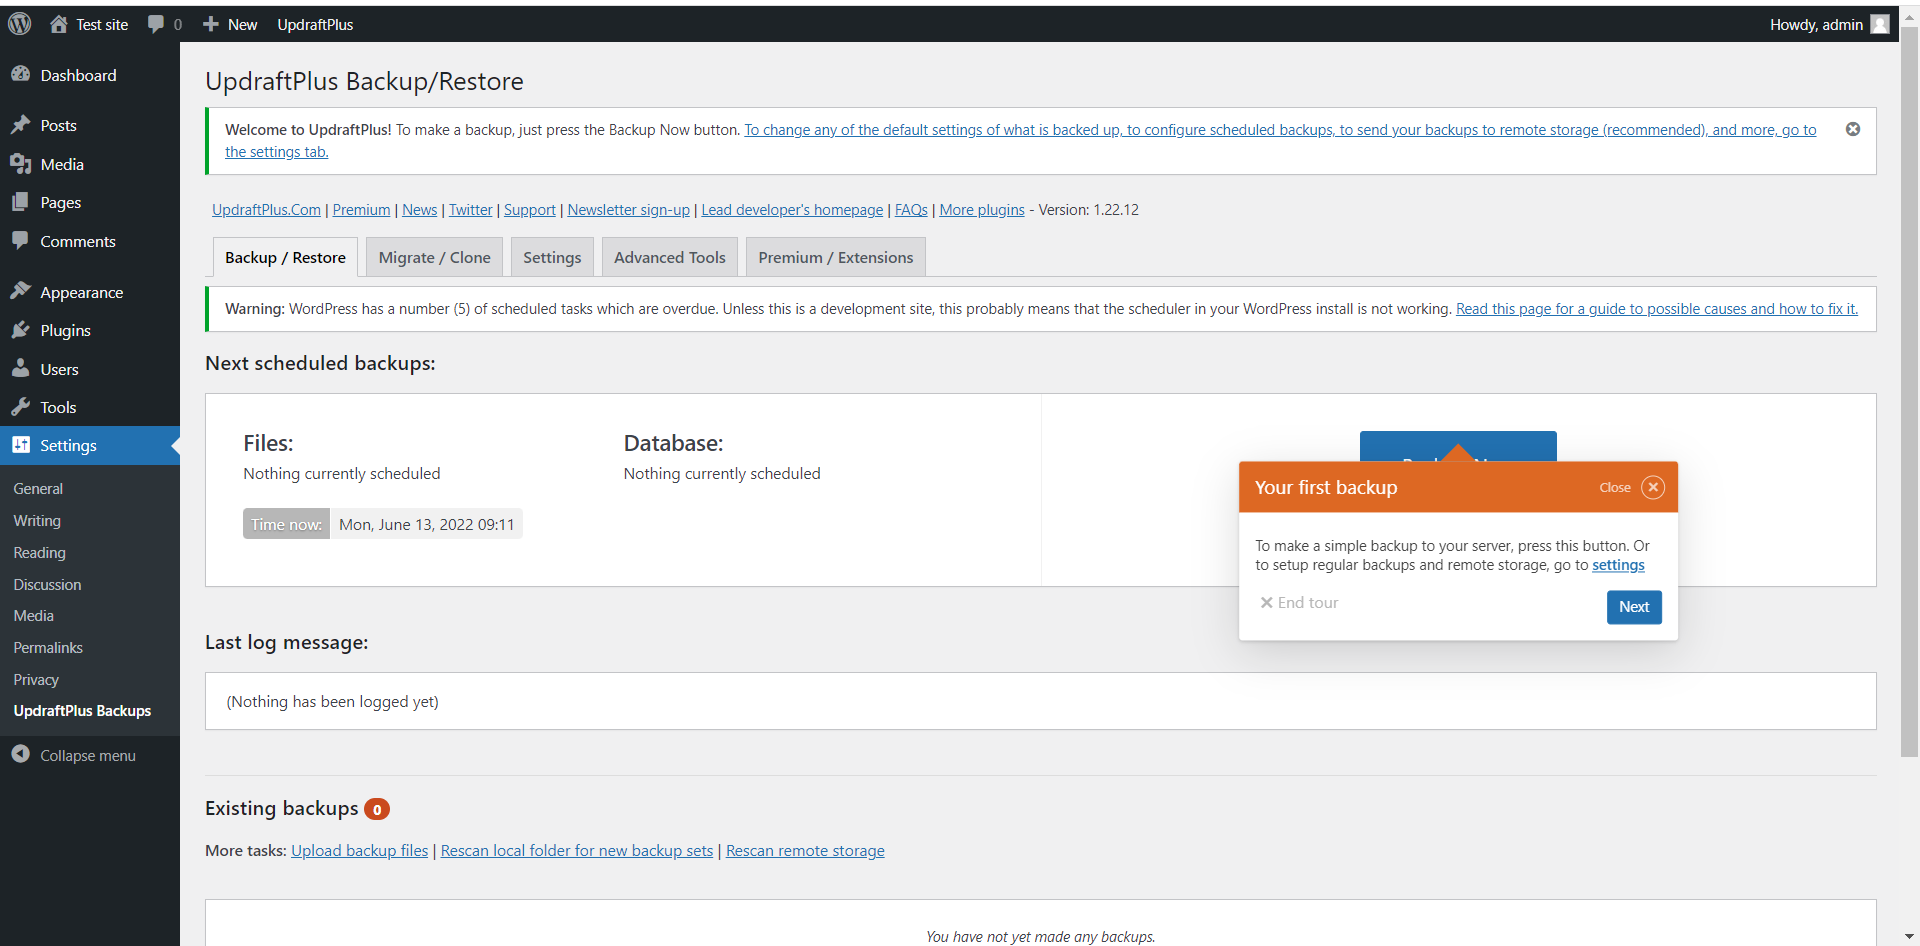
UpdraftPlus is a common plugin for WordPress. First, you need to install WordPress. You can also usedocker-compose to install it locally or on your remote server.
To download, install and activate the UpdraftPlus plugin, please follow their guide: https://updraftplus.com/download/
We will continue configuring the UpdraftPlus plugin after we have created the Gateway MT credentials.
Generate Gateway MT credentials
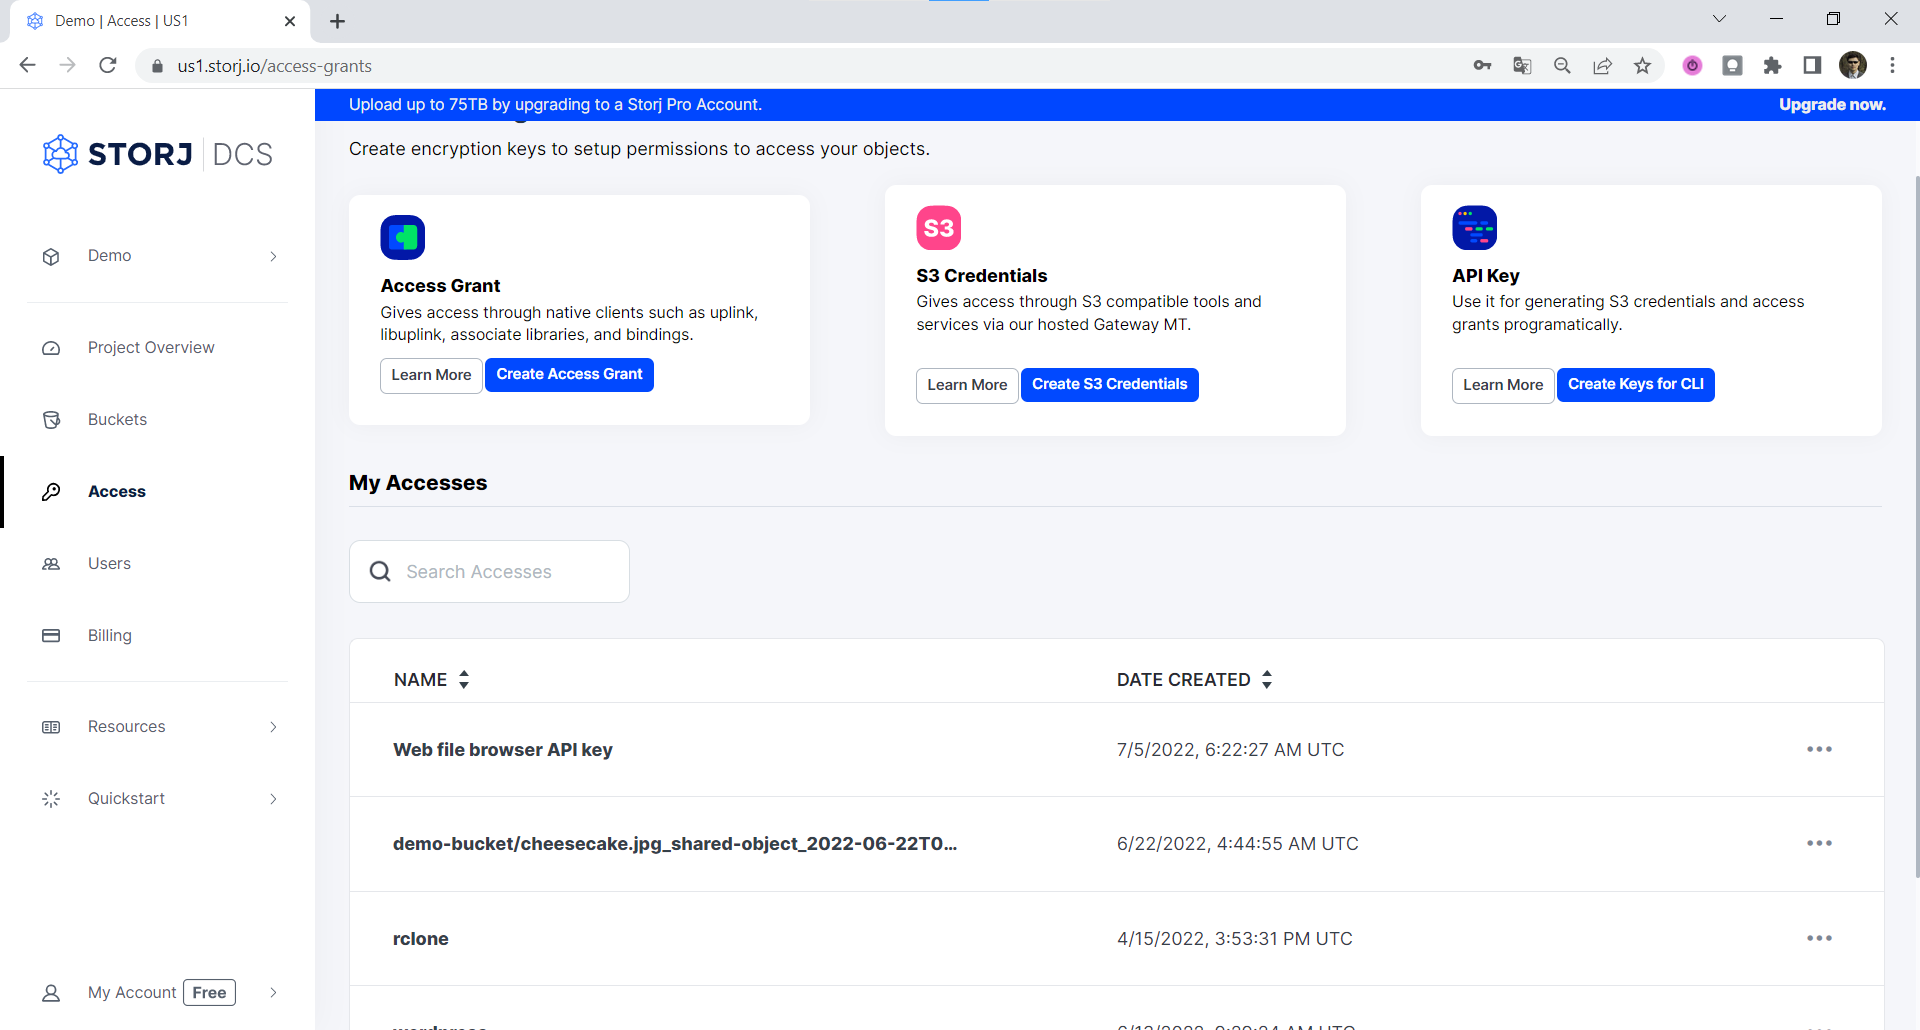
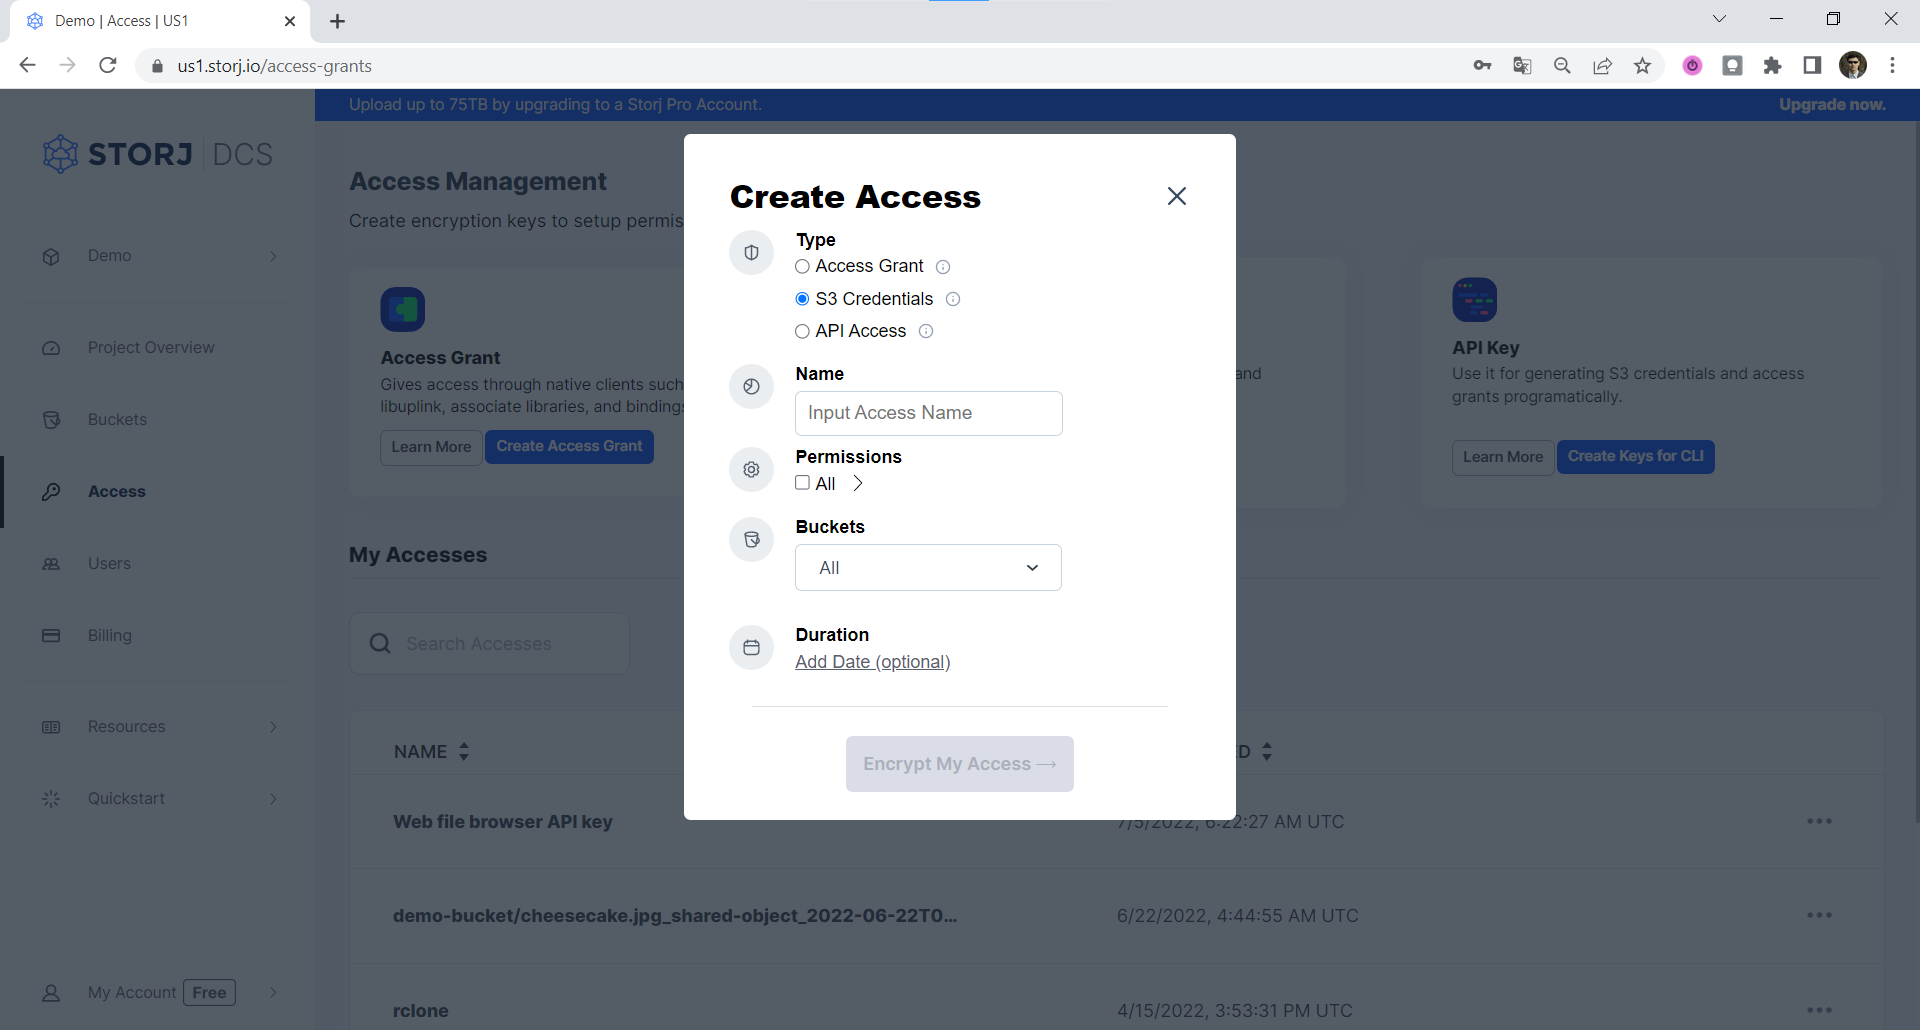
Please sign in to your Storj account Navigate to the Access page within your project and then click on Create S3 Credentials. A modal window will pop up where you should enter a name for this access grant.
Assign the permissions you want this access grant to have, then click on Encrypt My Access.
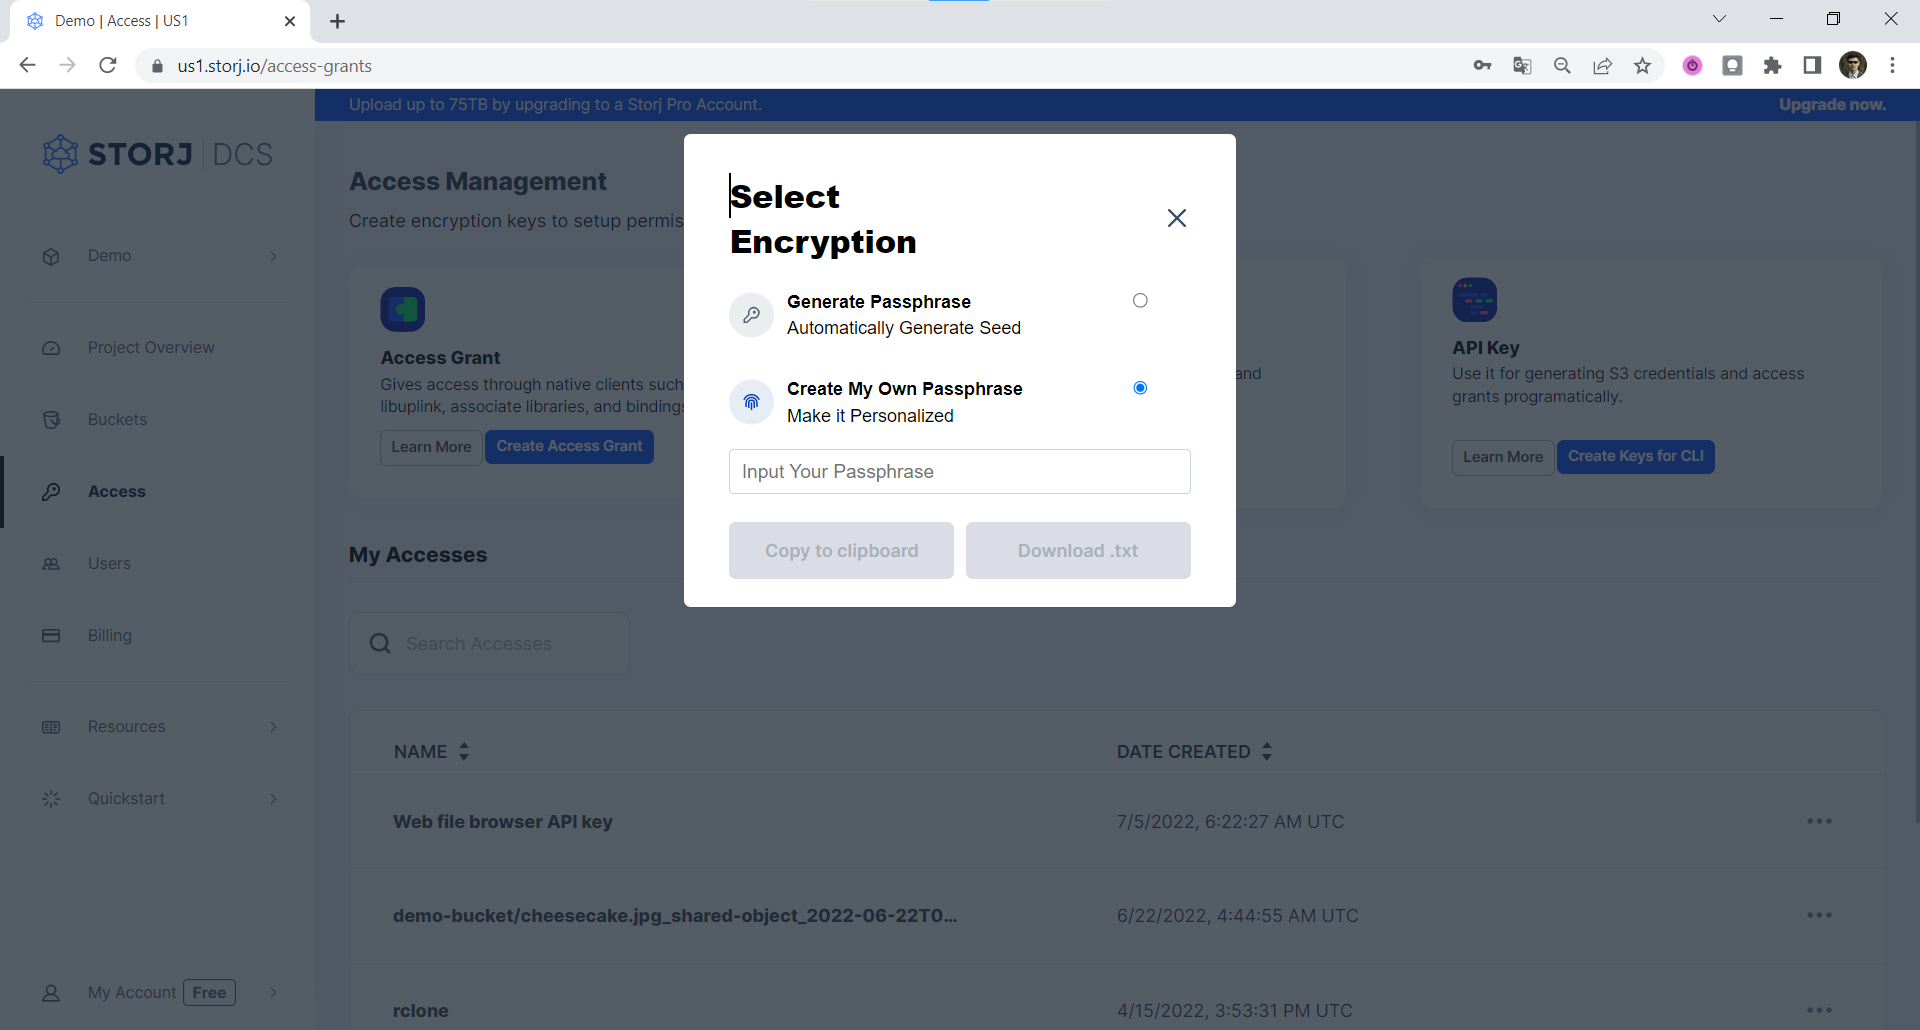
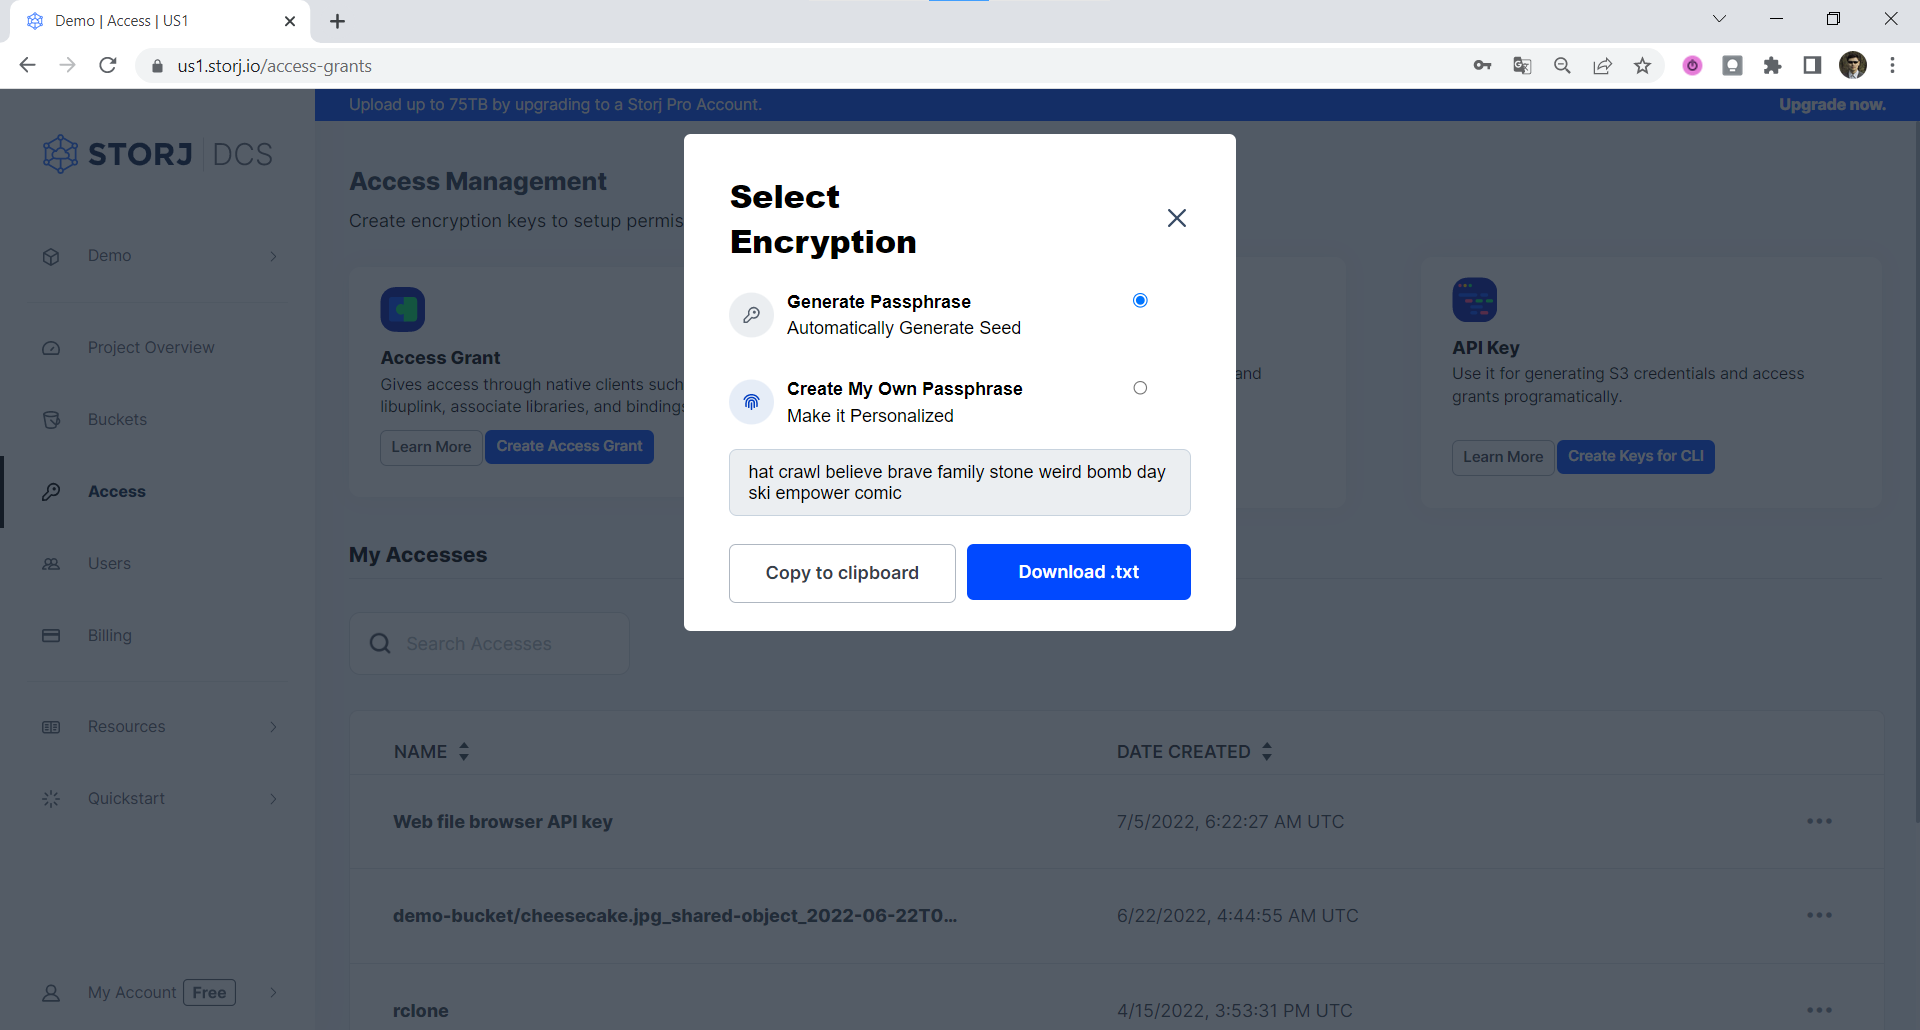
Enter the Encryption Passphrase you used for your other access grants. If this is your first access grant, we strongly encourage you to use a mnemonic phrase as your encryption passphrase (The GUI automatically generates one on the client-side for you.)
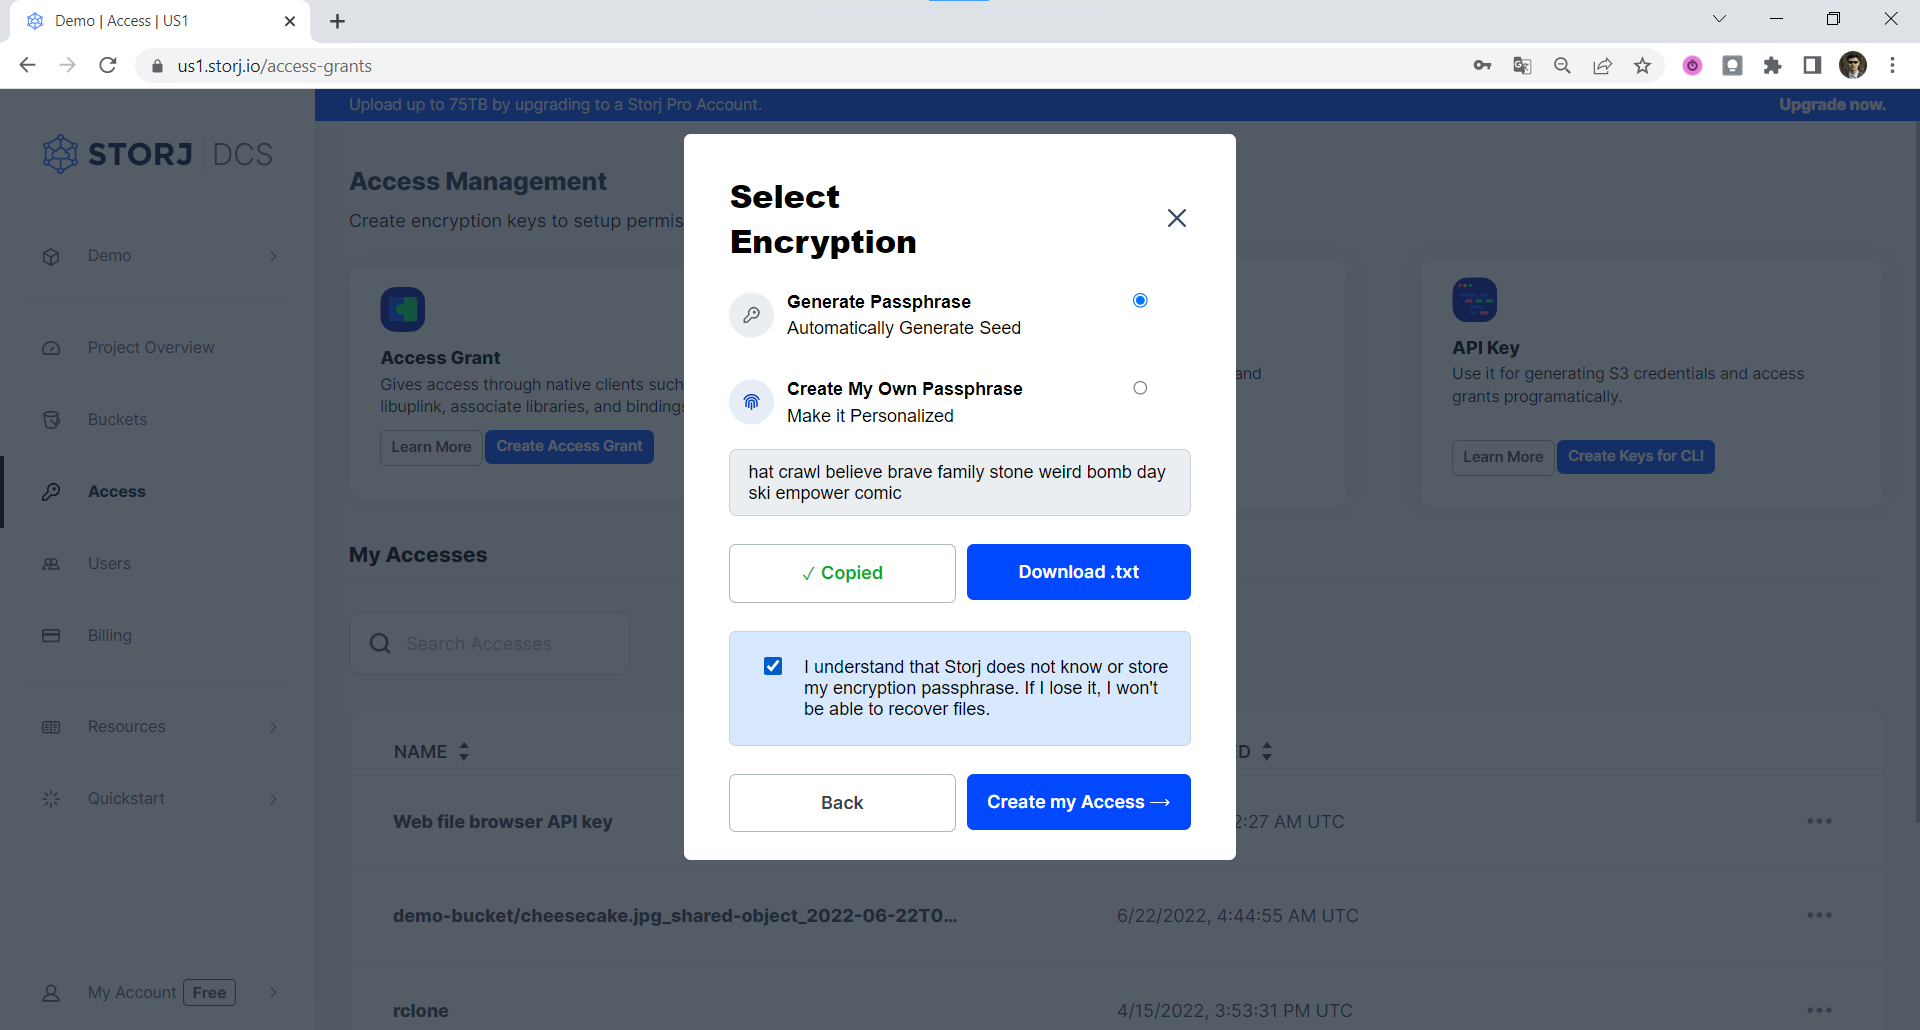
Click either on the Copy to clipboard link or Download .txt and then confirm that you copied your Encryption Phrase to a safe place.
Click the Create my Access link to finish generating of S3 credentials.
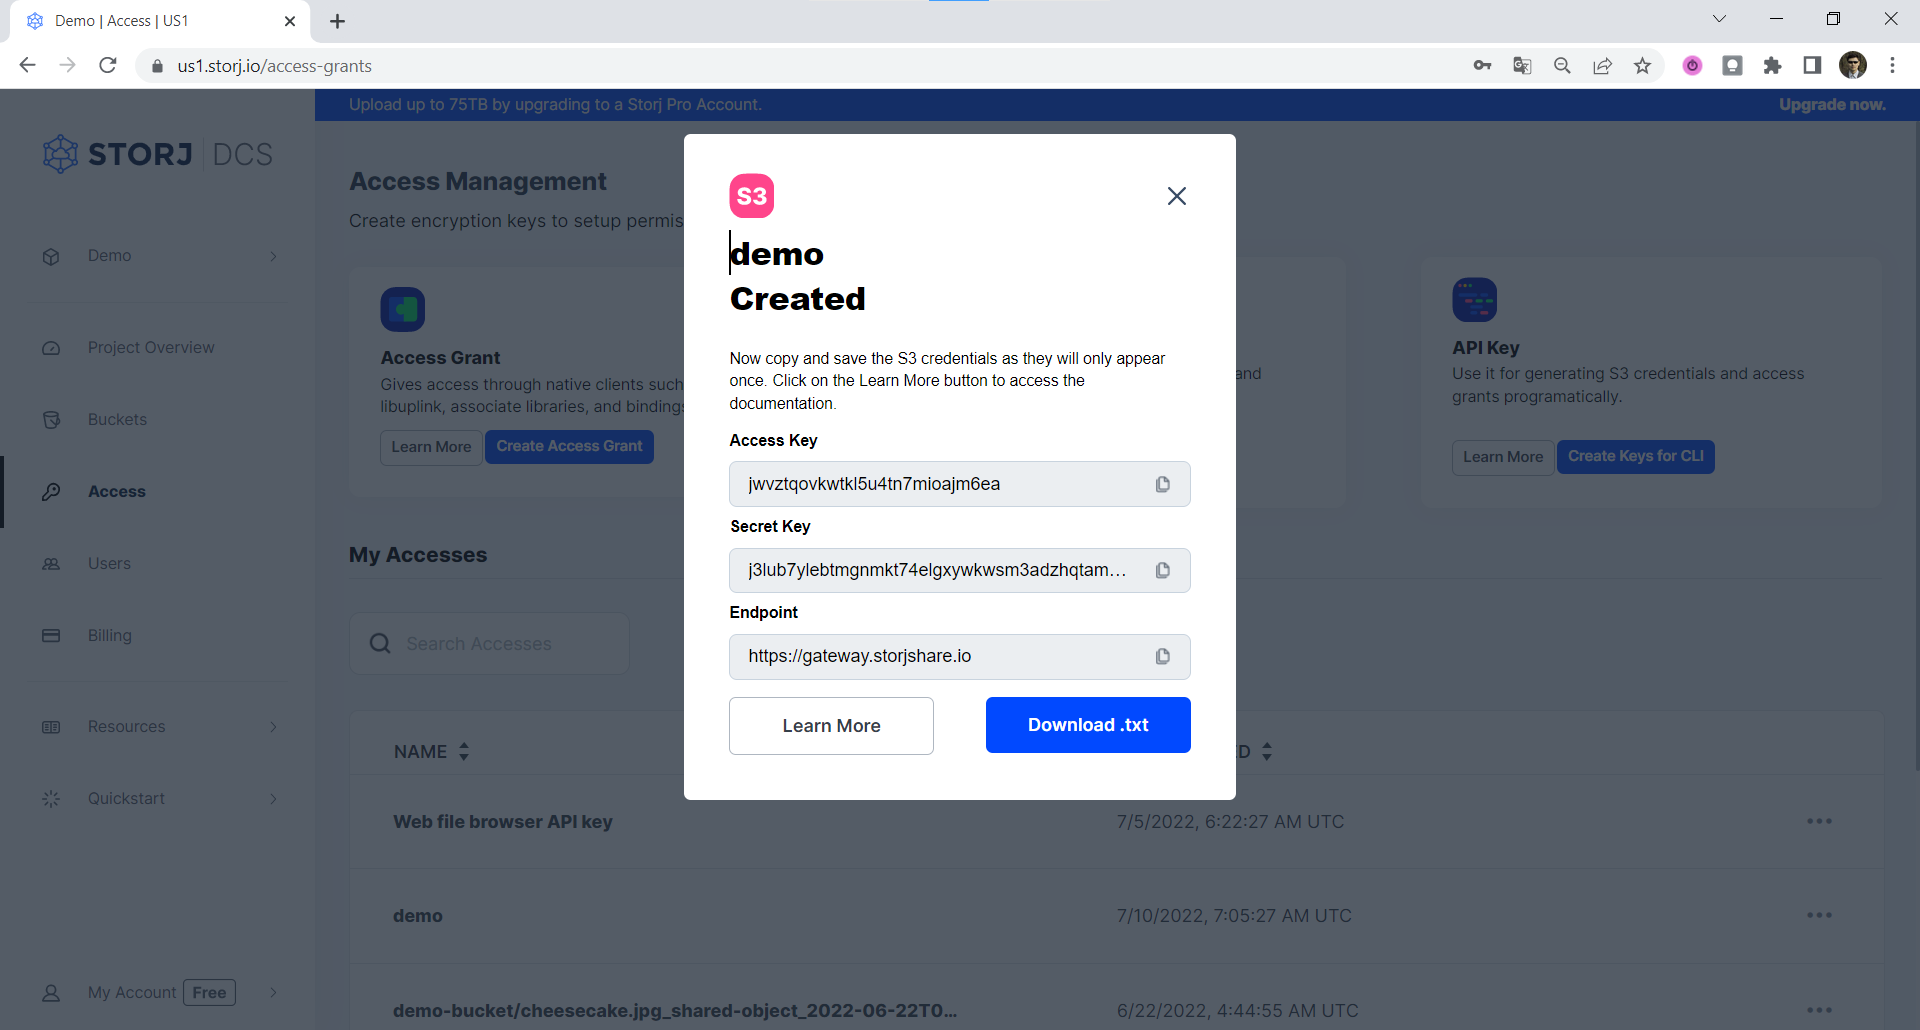
Copy your Access Key, Secret Key, and Endpoint to a safe location or download them.
Now you are ready to configure UpdraftPlus plugin.
Configuring UpdraftPlus plugin to work with Storj
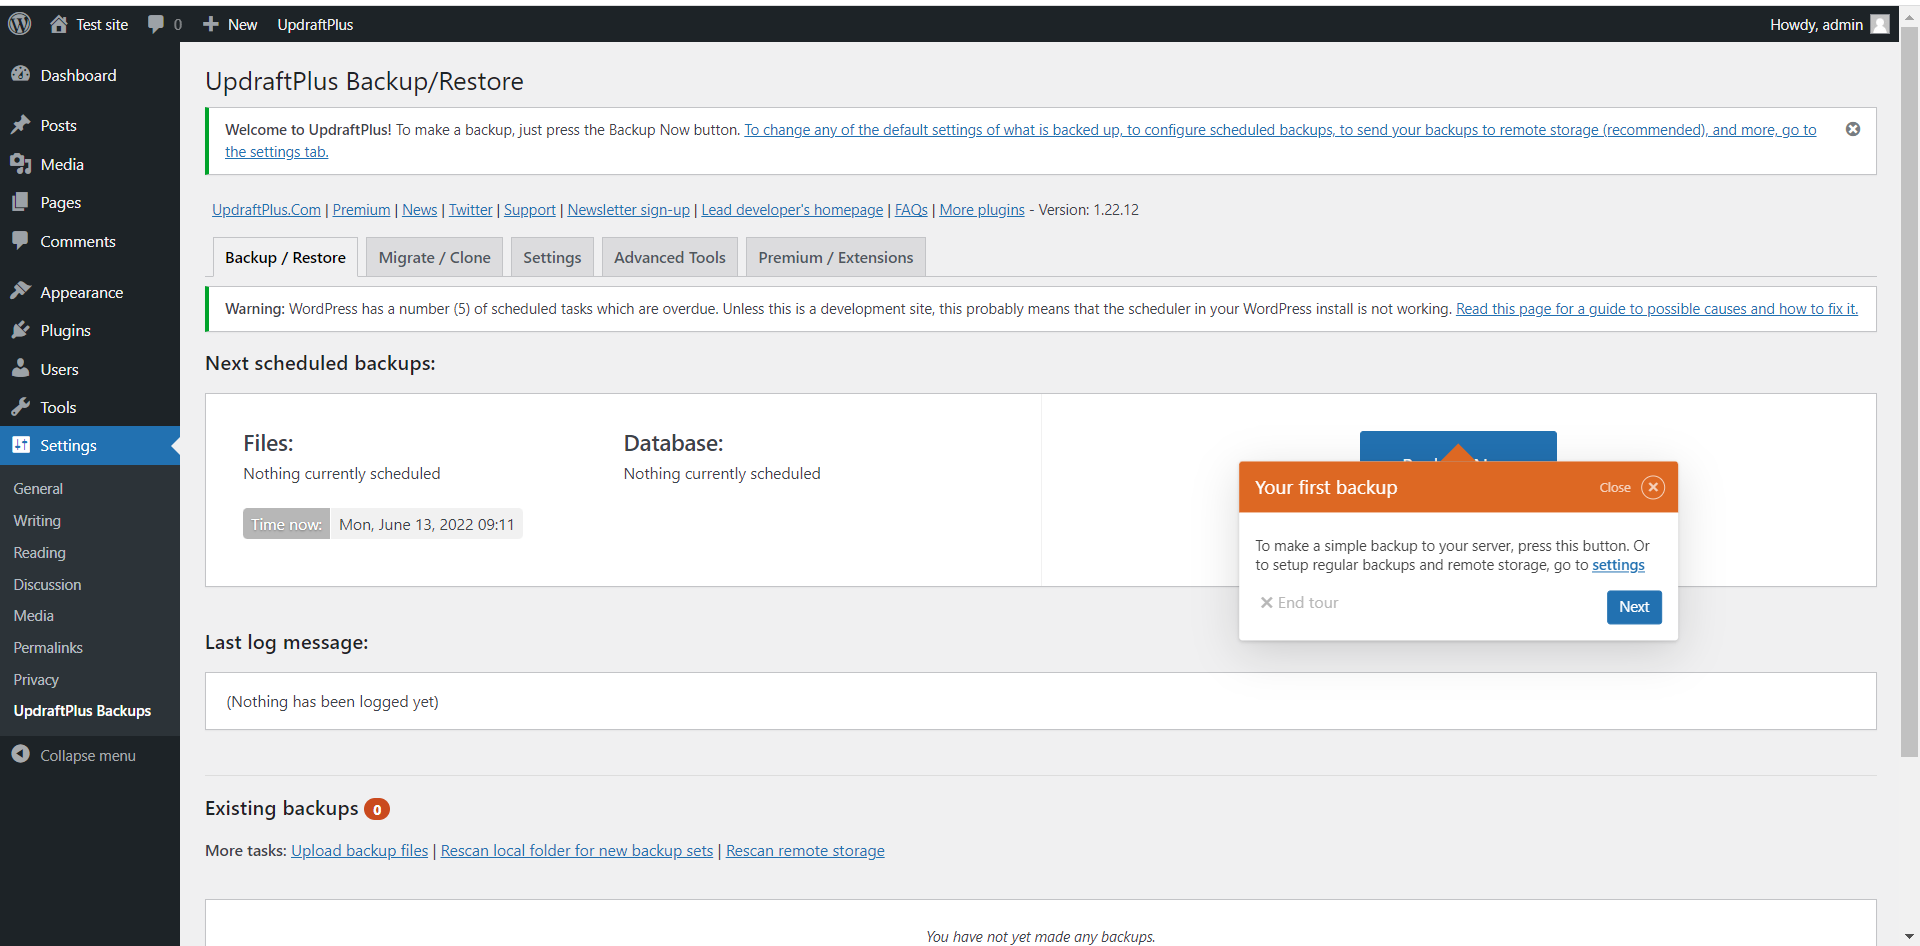
Now that we have finished generating the Gateway MT credentials, let´s go back to the UpdraftPlus configuration. Once the plugin has been activated, you should open its settings:
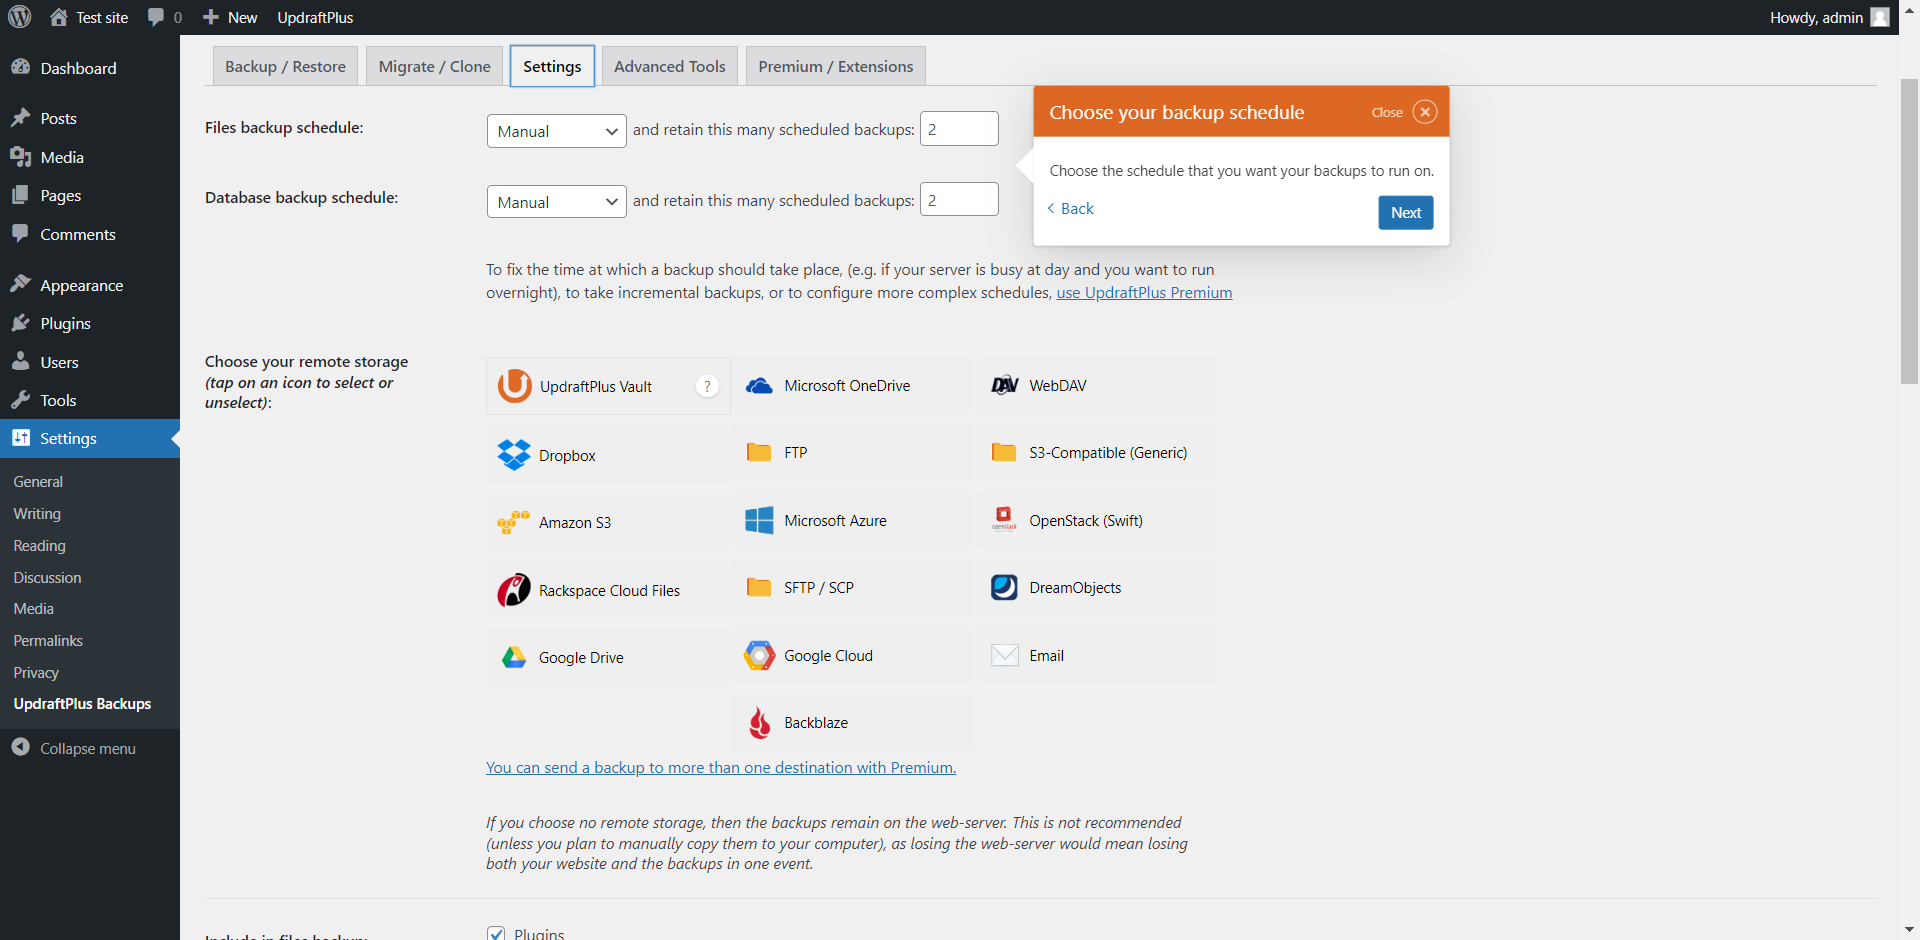
1. Click the Settings tab at the top part of the Settings page of the UpdraftPlus plugin.
2. Specify a preferred backup schedule for files and/or databases and how many incremental backups you want to have. See https://wordpress.org/plugins/updraftplus/ for more details.
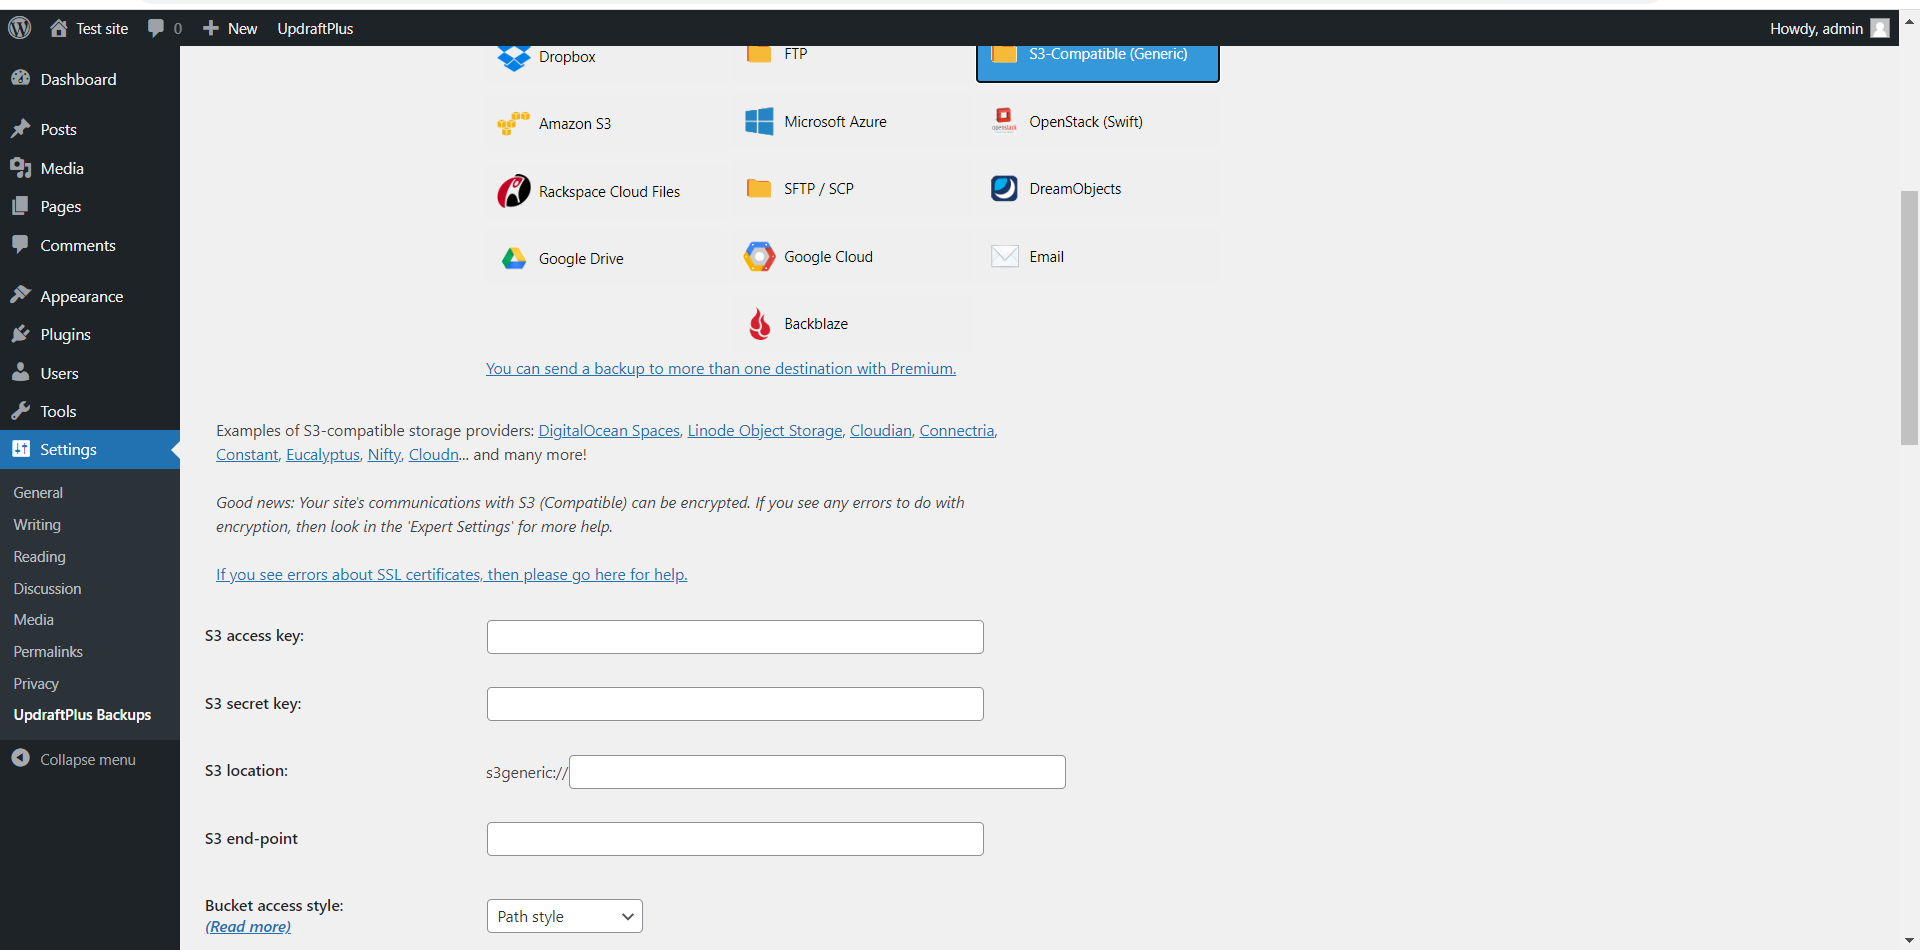
3. Click on the S3-Compatible (Generic) option. The following fields need to be filled in: S3 access key, S3 secret key, S3 location and S3 end-point.
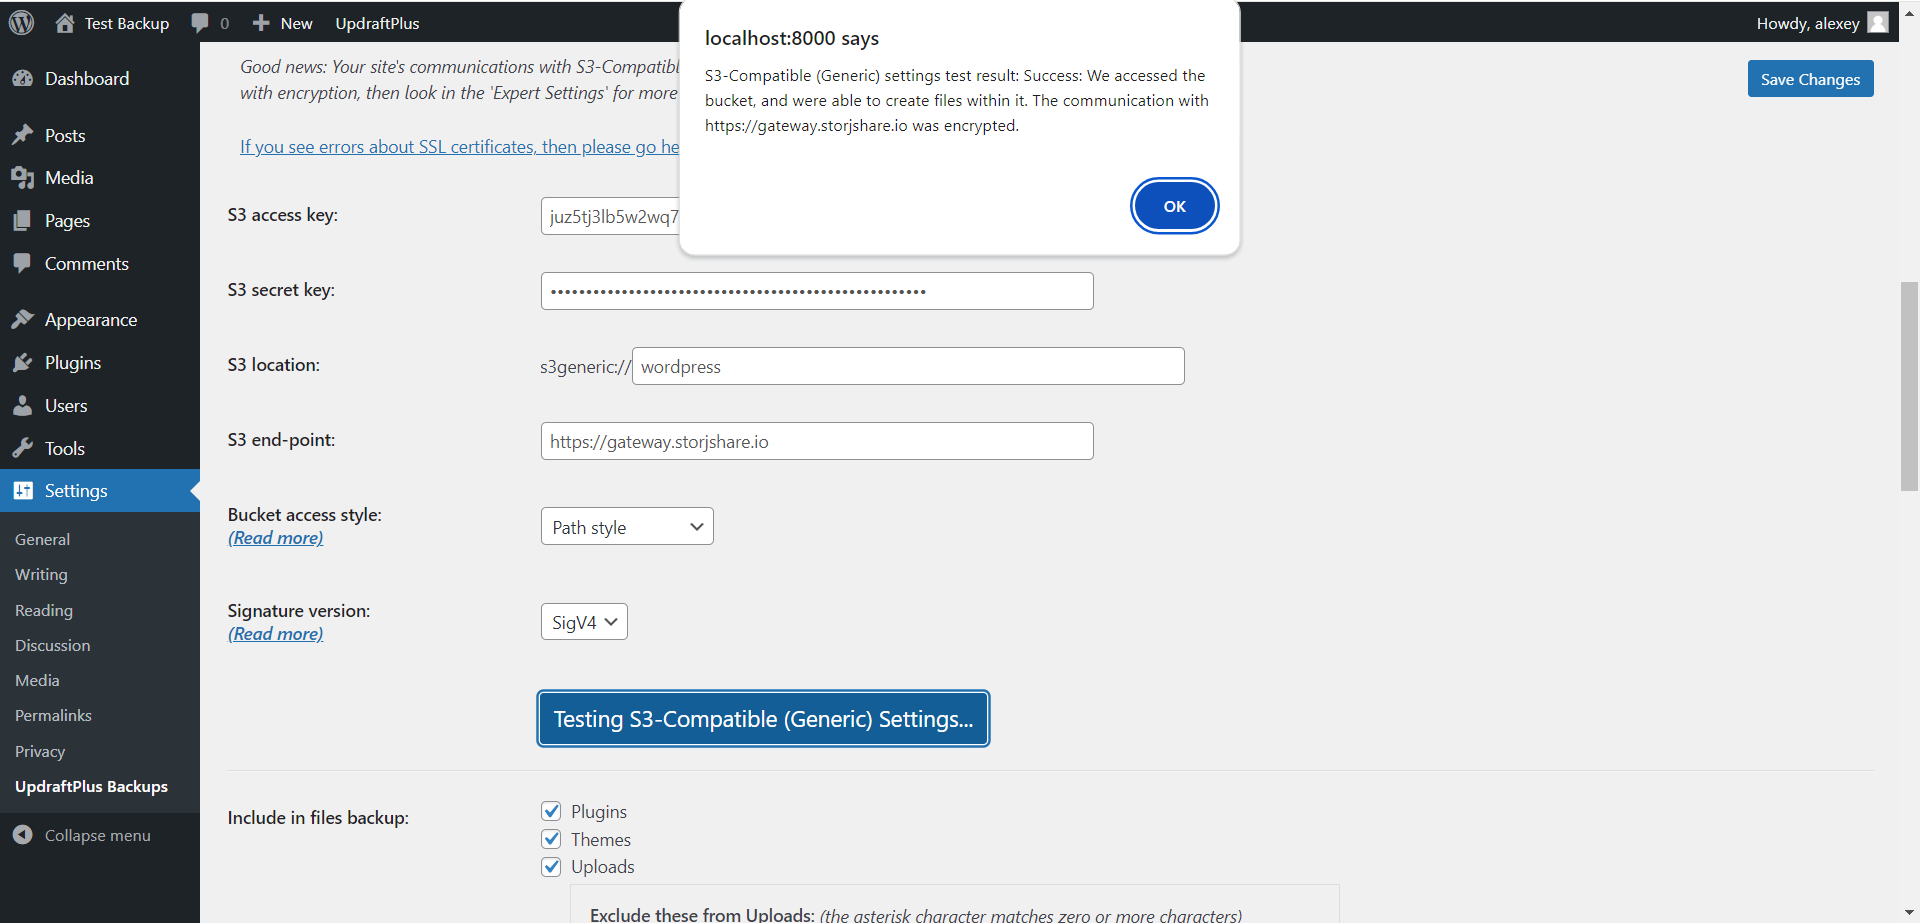
4. Specify your Access Key from your GatewayMT credentials in the S3 access key field, your Access Secret Key from the GatewayMT credentials in the S3 secret key field, Endpoint from the GatewayMT credentials in the S3 end-point field, and your bucket in the S3 location field, select Path style in the Bucket access style and Sigv4 as a Signature version. Then click the Test S3-Compatible (Generic) Settings button below. If everything was specified correctly, you should see a successful message like this:
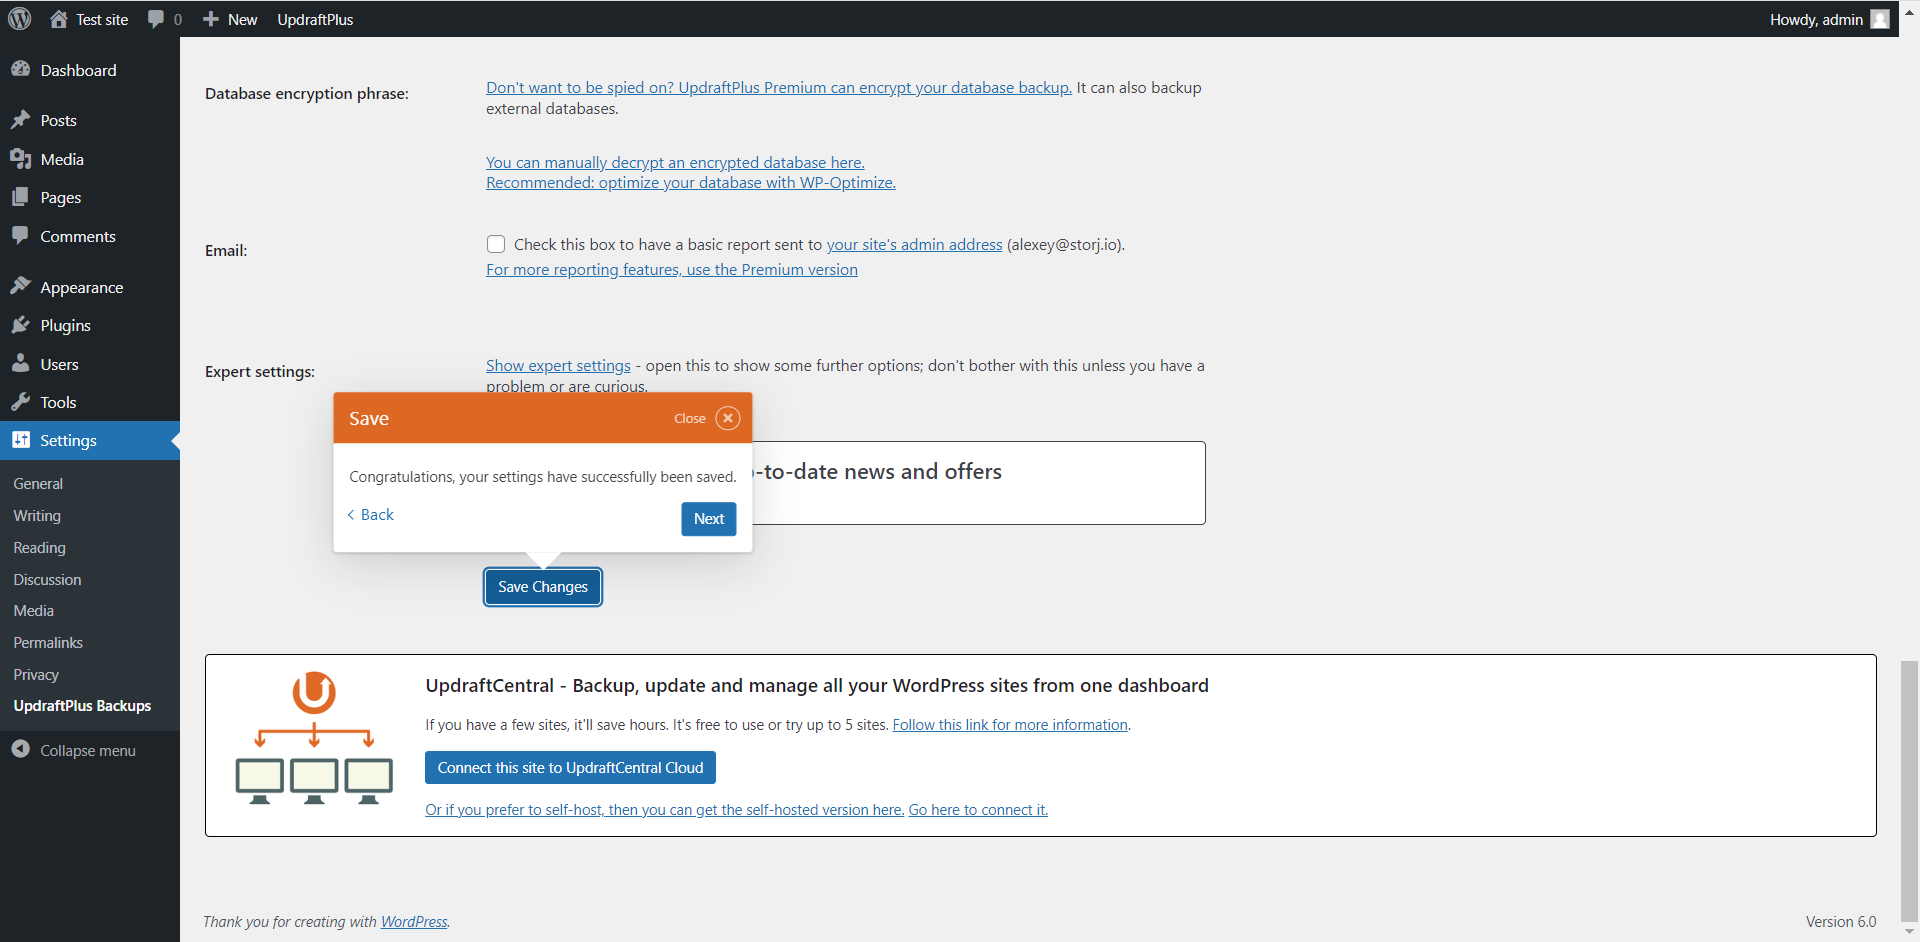
5. Please save the UpdraftPlus plugin settings with the Save changes button at the bottom of the page.
After you successfully configured Storj as your storage back end in the UpdraftPlus plugin and saved your configuration, you can return back to the Backup / Restore tab to start your backup manually right away.
