MASV
Integration
To integrate Storj with MASV, you will need to create S3 credentials in Storj and add them within MASV.
Requirements
- An active Storj account
- A bucket for use with MASV in your Storj instance
- An active account on MASV
Create an Account
To begin, you will need to create a Storj account.
Navigate to https://www.storj.io/signup?partner=MASV to sign up, or log in https://storj.io/login if you already have an account.
Create a Bucket
Once you have your Storj account you can create a bucket for your data to be stored in.
Navigate to Browse on the left side menu.
Click on the New Bucket button.
Assign the bucket an easily identifiable name, such as "my-bucket".
Optional: Enable Object Lock (required for immutability in many applications).
- If you enable Object Lock, you can also set a default retention period using either Governance or Compliance Mode
Optional: Enable Object Versioning (note that this will be enabled by default if Object Lock is enabled)
Click Create bucket
Generate S3 credentials
Storj has an Amazon S3 compatible API and you'll need generate S3 credentials to use it. S3 credentials consist of an access key, secret key, and endpoint.
Create S3 credentials in the Storj console:
Navigate to Access Keys on the left side menu.
Click the New Access Key button.
When the New Access dialog comes up, set specifications according to the following guidelines:
- Name: The name of the credentials (e.g. my-access)
- Type: S3 Credentials
Choose Full Access or Advanced
- In most cases, you DO NOT want to choose full access.
Provide Access encryption Information
If you have opted out of Storj-managed passphrases for the project you must unlock the bucket with your passphrase. In order to see the data uploaded to your bucket in the Storj console, you must unlock the bucket with the same encryption passphrase as the credentials.
- Use the current passphrase: this is default option
- Advanced: you may provide a different encryption phrase either your own or generate a new one.
- Enter a new passphrase: use this option, if you would like to provide your own new encryption phrase
- Generate 12-word passphrase: use this option, if you would like to generate a new encryption phrase
Select the permissions you want to allow:
- Read
- Write
- List
- Delete
Select the object lock permissions you want to allow
- PutObjectRetention
- GetObjectRetention
- BypassGovernanceRetention
- PutObjectLegalHold
- GetObjectLegalHold
- PutObjectLockConfiguration
- GetObjectLockConfiguration
Choose the buckets you want the access to include:
- All Buckets
- Select Buckets
Set an expiration
Click Create Access to finish creation of your S3 credentials
Your S3 credentials are created. Write them down and store them, or click the Download all button. You will need these credentials for the following steps.
Object Lock Permission Details
| Permission Name | Description |
|---|---|
| PutObjectRetention | Allows you to set retention policies, protecting objects from deletion or modification until the retention period expires. |
| GetObjectRetention | Allows you to view the retention settings of objects, helping ensure compliance with retention policies. |
| BypassGovernanceRetention | Allows you to bypass governance-mode retention, enabling deletion of objects before the retention period ends. |
| PutObjectLegalHold | Allows you to place a legal hold on objects, preventing deletion or modification regardless of retention policies. |
| GetObjectLegalHold | Allows you to view the legal hold status of objects, which is useful for auditing and compliance purposes. |
| PutObjectLockConfiguration | Allows you to set retention policies on the specified bucket, automatically applying them to every new object added to that bucket. |
| GetObjectLockConfiguration | Allows you to view the default retention policies configured for the specified bucket. |
Connecting MASV to Storj
Creating a Storj Cloud Integration in MASV
Log into your MASV Account:
In the MASV web app, select Integrations from the left-hand menu.
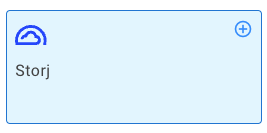
If you are using Cloud Integrations for the first time, click Storj from the grid; or you can also select Storj from the New Integration > Select Service drop-down menu.
In the pop-up window, fill out Connection Name. Tip: enter a short description of what you use this integration for. Fill out Bucket, Access Key ID, and Secret Access Key with the S3 credentials you created above.
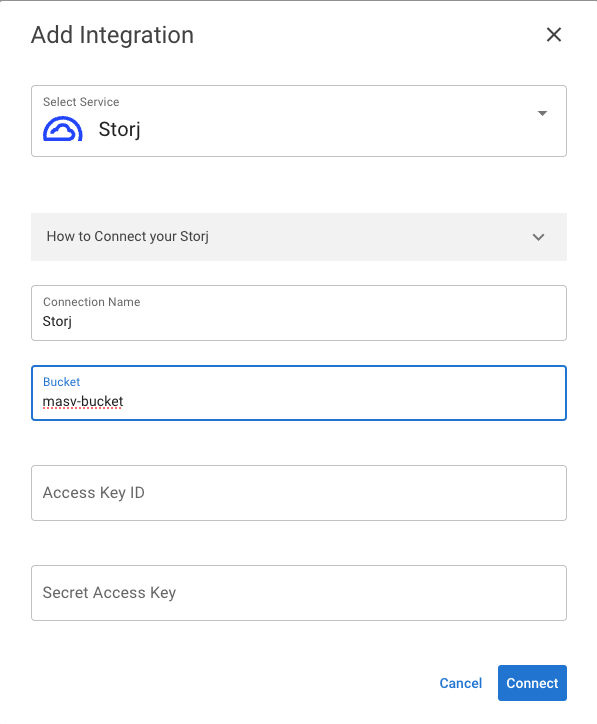
After clicking Connect, you should be greated with a message confirming the integration.
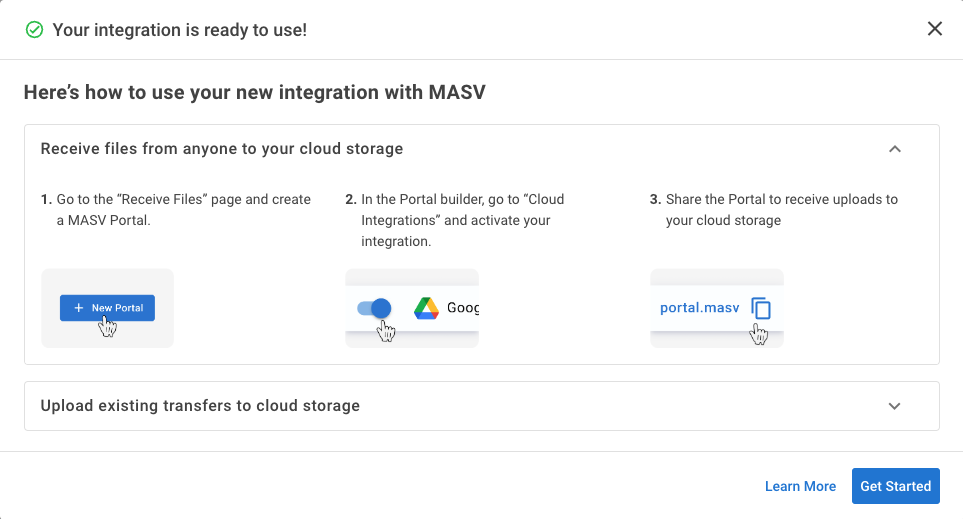
Creating a MASV Portal integrated with Storj
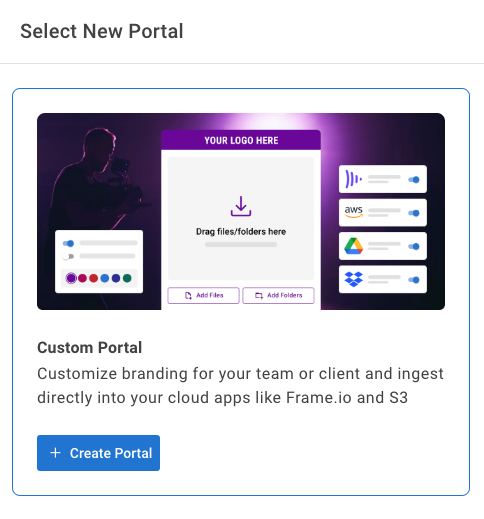
In the MASV web app, select Request Files with Portals from the left-hand menu.

Select New Portal from the top right-hand corner.

In the Select New Portal pop-up window, select Custom Portal by clicking Create Portal.
On the Integrations tab, enable Storj by clicking its corresponding button in the Status column.
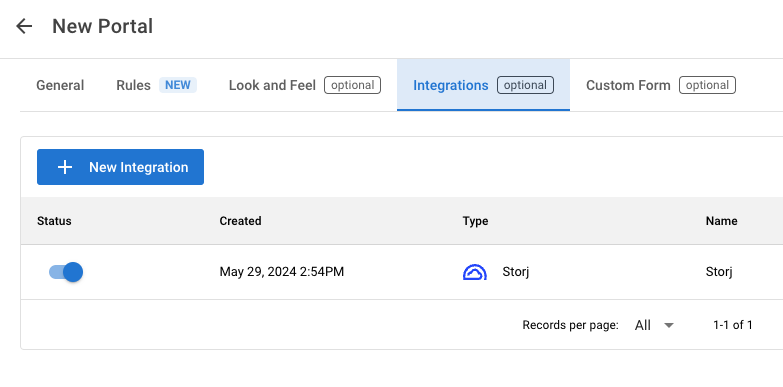
Continue to configure your portal as desired, finally clicking Create in the bottom right-hand corner.
Shortly after users upload content to MASV, the files should be available in your Storj bucket.