Step 2. Setup Port Forwarding
Before starting
Failure to complete these steps will prevent your storage node from working.
Step 1. Understand Prerequisites
Introduction
How a Storage Node communicates with others on the Storj network, even though it is behind a router.
Most, if not all ISPs give a dynamic IP address, which means your IP can change at any time. As a work around, you need a dynamic DNS service to ensure your storage node is connected.
Advanced: Already have a Static IP? Setup port forwarding
Setup Dynamic DNS Service: Hostname Configuration
If you don't have a static IP, the first step is setting up a hostname.
There are various services available that allow you to set up a DDNS hostname. The following steps will guide you through doing this with one of the services, NoIP.
Create a Free Hostname using NoIP
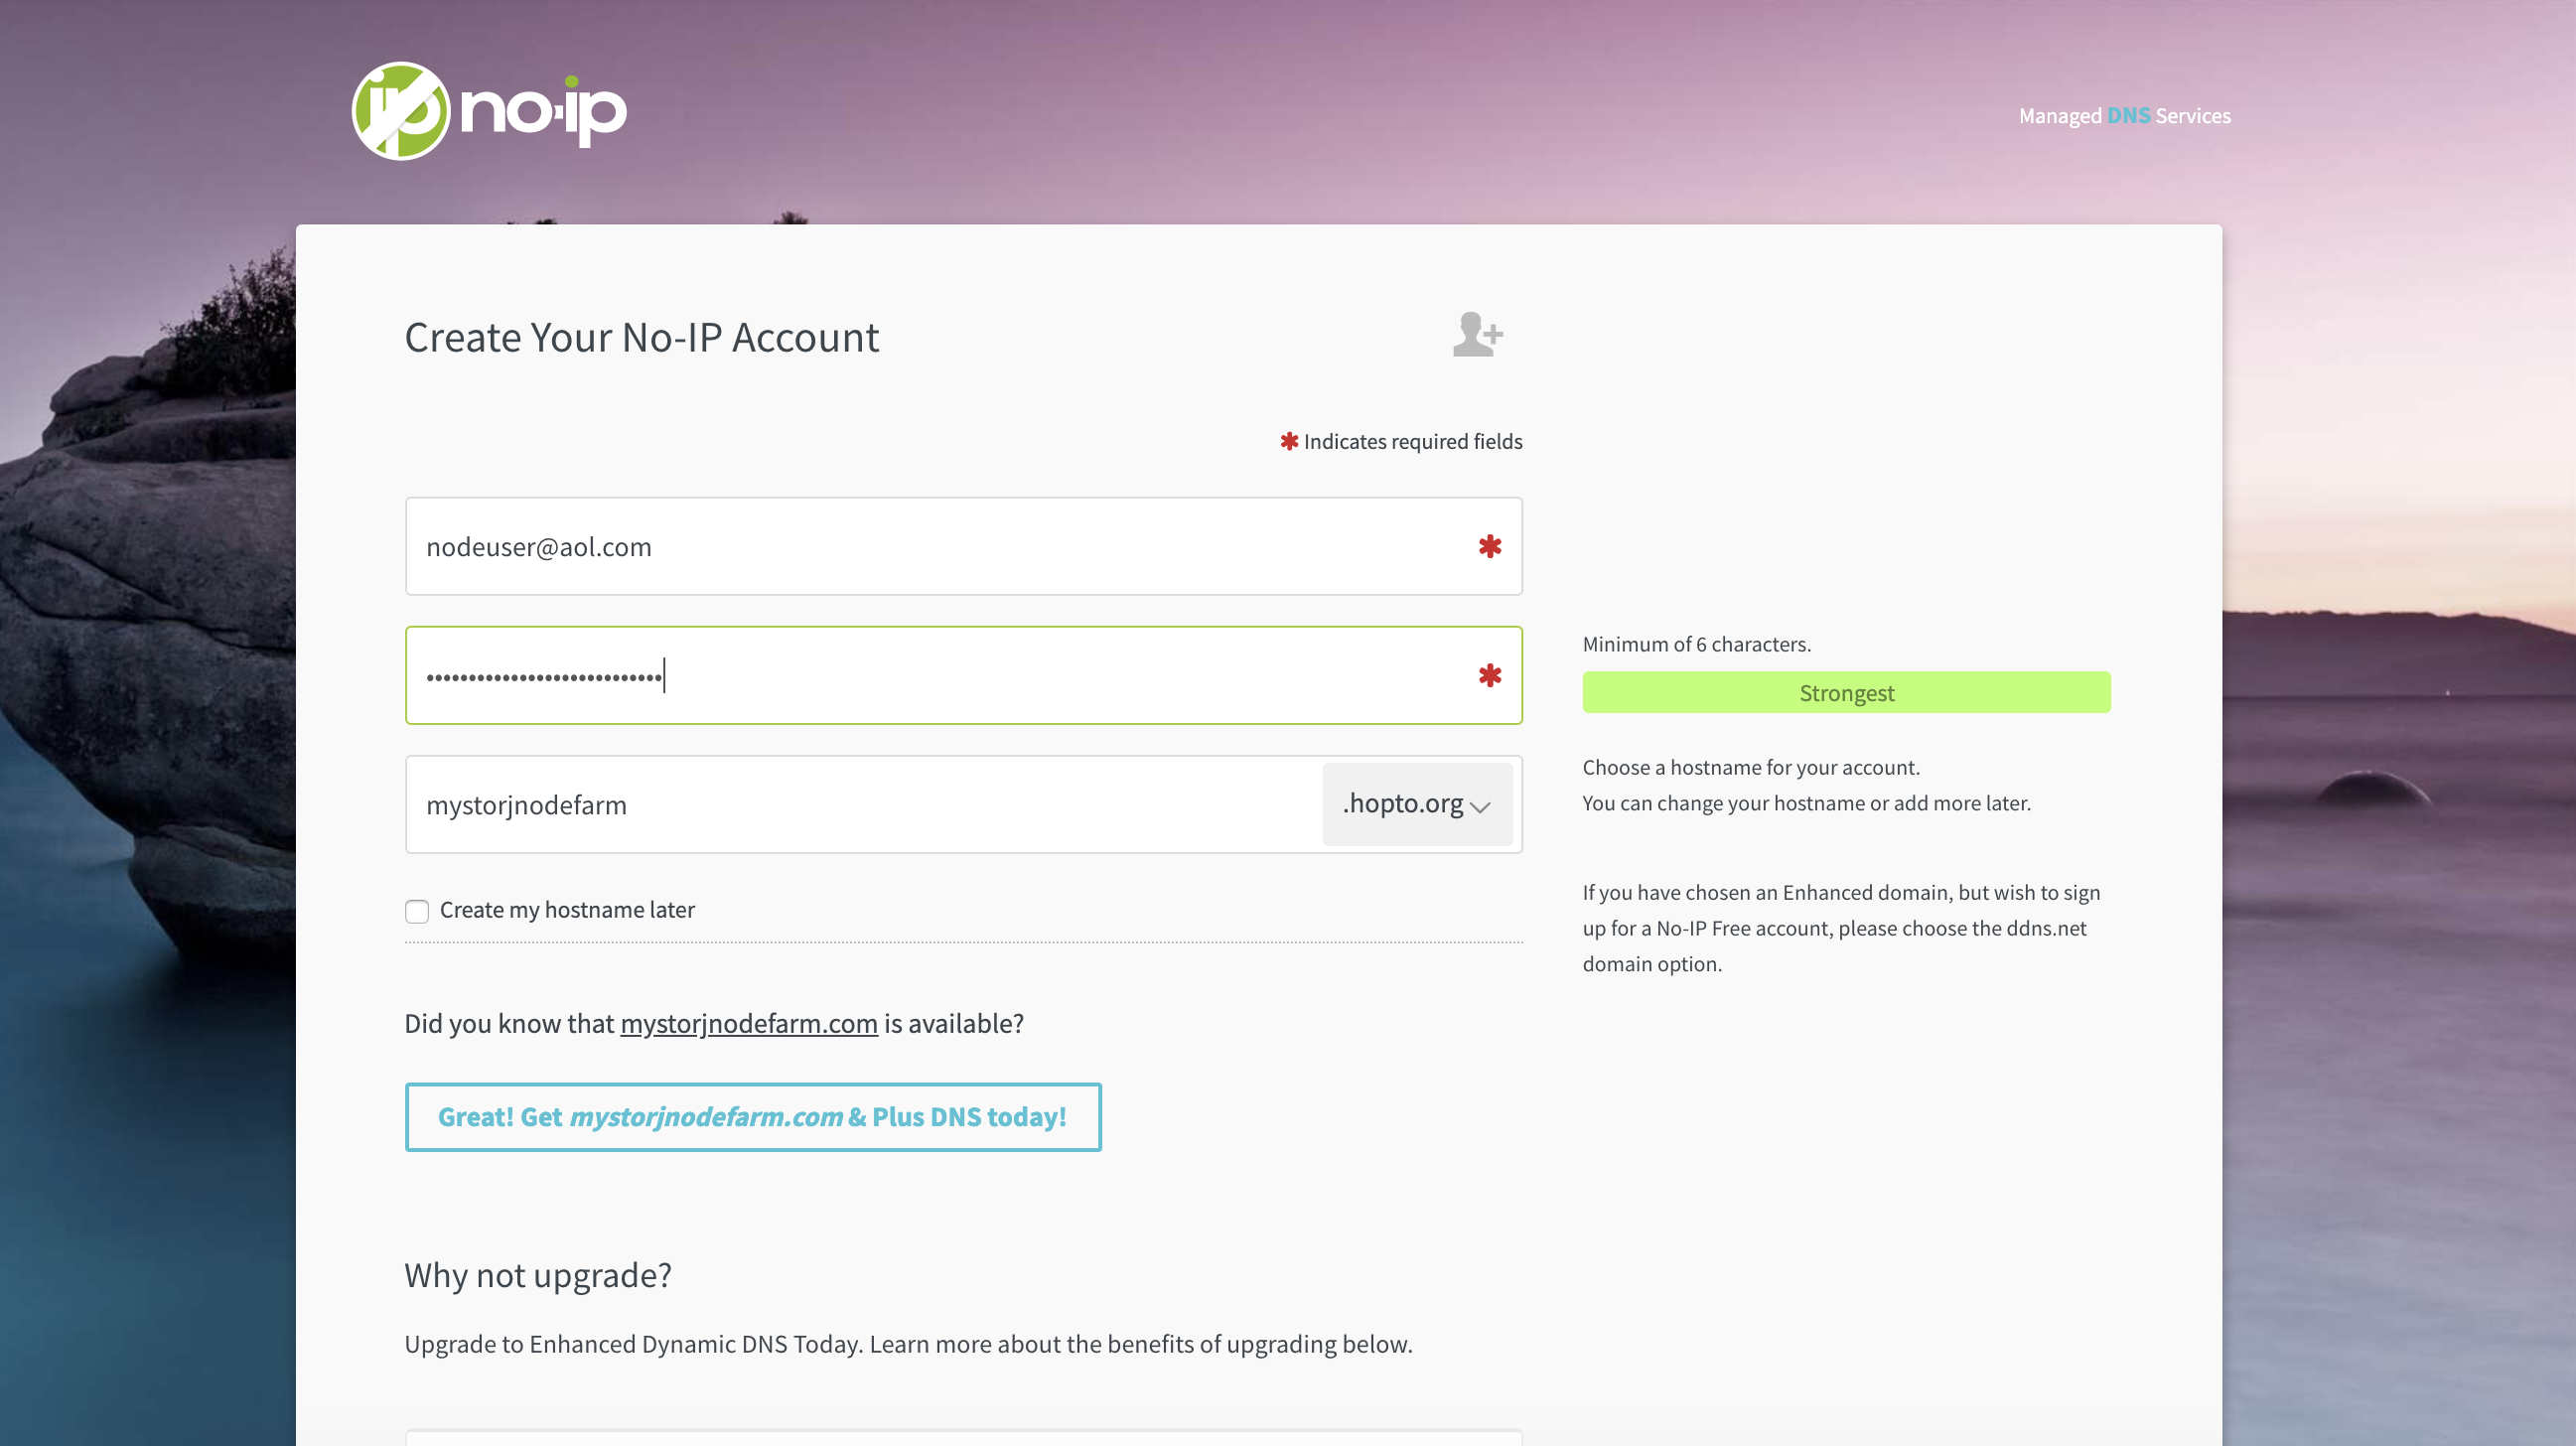
Add a free hostname using NoIP which needs to be renewed every 30 days when using a free account. On the NoIP website, scroll down to “Create Your Free Hostname now”, then do the following:
In the hostname input field, select a hostname of your liking (e.g. mystoragenode), it can contain letters and numbers.
Next, select a hostname provider of your liking (e.g. “.ddns.net”) in the box to the right.
Click “Sign Up".
On the sign-up page, enter your email, username, and password. Make sure to write these details down, as you will need them later.
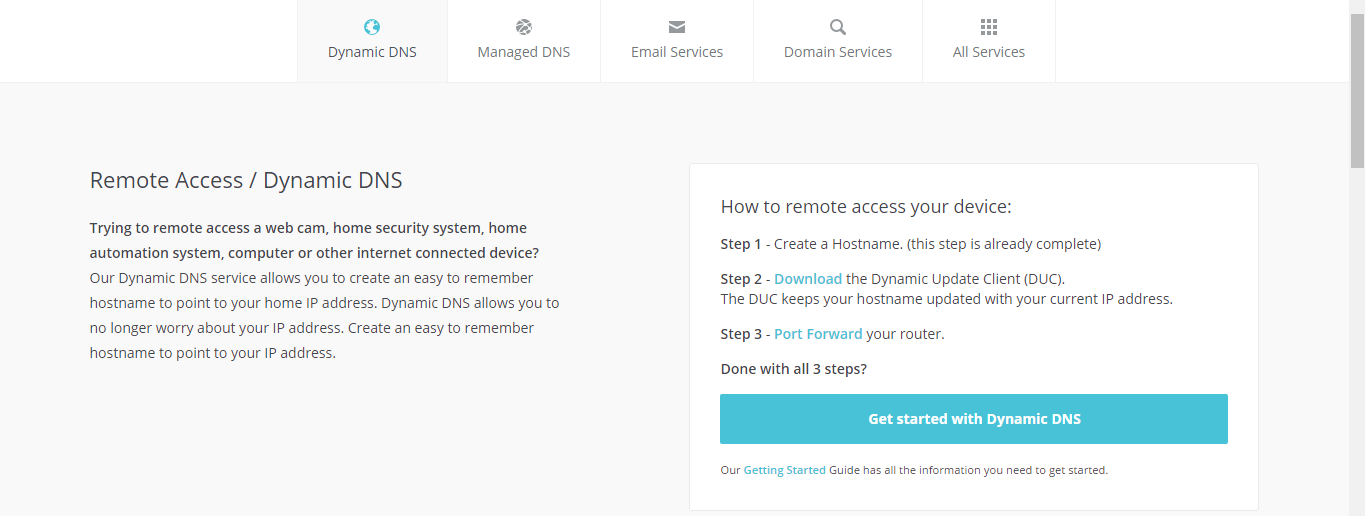
Once you have created an account and clicked the confirmation link in the e-mail, scroll down to where it says “How to remote access your device” and click “Get started with Dynamic DNS.”
This will take you to the NoIP dashboard.
Setup Dynamic DNS Service: Dynamic Update Client Tool
You'll need to setup a dynamic update tool, which automatically tracks and assigns the IP address to your hostname. So, if your public IP changes, your node won’t get disconnected from the network.
Please keep your hostname at hand as we will need it later.
If your router supports NoIP's Dynamic DNS, we highly recommend configuring your router. Here's how to do that.
Dynamic Update Client for Linux
First, open a new terminal window so you can type commands into Linux. Once you’ve opened your terminal window, log in as “root” user. You can become the root user from the command line by entering sudo -s followed by the root password on your machine.
Navigate to src folder:
Download the necessary files:
Extract the files using the following command:
Navigate to the folder:
Once in the directory, type:
You’ll then be prompted to log in with your NoIP account username and password.
If you get “make not found” or “missing gcc” then you don’t have the gcc compiler tools installed. Install the gcc compiler tools to proceed.
As root again (or with sudo) issue this command:
You’ll then be prompted for your NoIP username and password, as well as the hostnames you wish to update.
One of the questions is, “Do you wish to update ALL hosts?” If answered incorrectly, this could affect hostnames in your account that are pointing at other locations.
Now that the client is installed and configured, you just need to launch it. Simply issue this final command to launch the client in the background:
By default, the DUC software will not start when you reboot your system.
Check the README file in the no-ip-2.1.9 folder for instructions on how to make the client run at startup. This varies depending on what Linux distribution you are running.
Setup Port Forwarding: Router Port Forwarding Configuration
To set up port forwarding (TCP/UDP) on a router, we must first get the gateway IP address so we can access the router:
Open the terminal app and run the following command
Once you have your gateway IP, open a browser and type it in.
You'll be forwarded to a login page of your router.
If you don't know the login, try googling the default username and password for your router's make and model.
Once you are logged in to your router, find the port forwarding tab (for some routers it's in "advanced settings").
Now, you will need to get the local IP of your machine the node is running on:
Open the terminal app and run the following command:
The local IP will be the first set of numbers.
Next, go back to your router's port forward page and add a new rule for port 28967 with the IPv4 address you just retrieved.
Make Sure to Add a Firewall Rule
Congratulations, you've setup port forwarding!
Have any difficulties?
Search for port forwarding instructions for your exact router model.


