Validate Functionality & Access Object Storage
After installing Object Mount for Linux, you should:
- Run and Validate global functionality by accessing public buckets
- Import your private S3 credentials into Object Mount
- Connect to your private Object Storage buckets
Details for each step is outlined below.
Step 1. Validate Object Mount’s Public Connectivity
The following steps will help you verify that Object Mount is running correctly and can connect to publicly accessible S3 storage buckets.
1a. Enter Object Mount’s CLI Console (aka “cunoFS”)
From a Linux shell prompt enter the
cunocommand:You should see the
(cuno)CLI prefix to the left of your user prompt. This indicates that a new shell has been launched, wrapped in Object Mount’scunowrapper:Adding
cunoto the PATHIf the Object Mount
cunoapplication cannot be found (cuno: command not found), add the install location to your$PATHvariable.Enter
exitat any time to close the Object Mount CLI console and return to the unwrapped shell prompt:
1b. Explore Public Datasets
Validate that Object Mount can reach Internet-based object storage buckets by listing the files in several public S3 repositories:
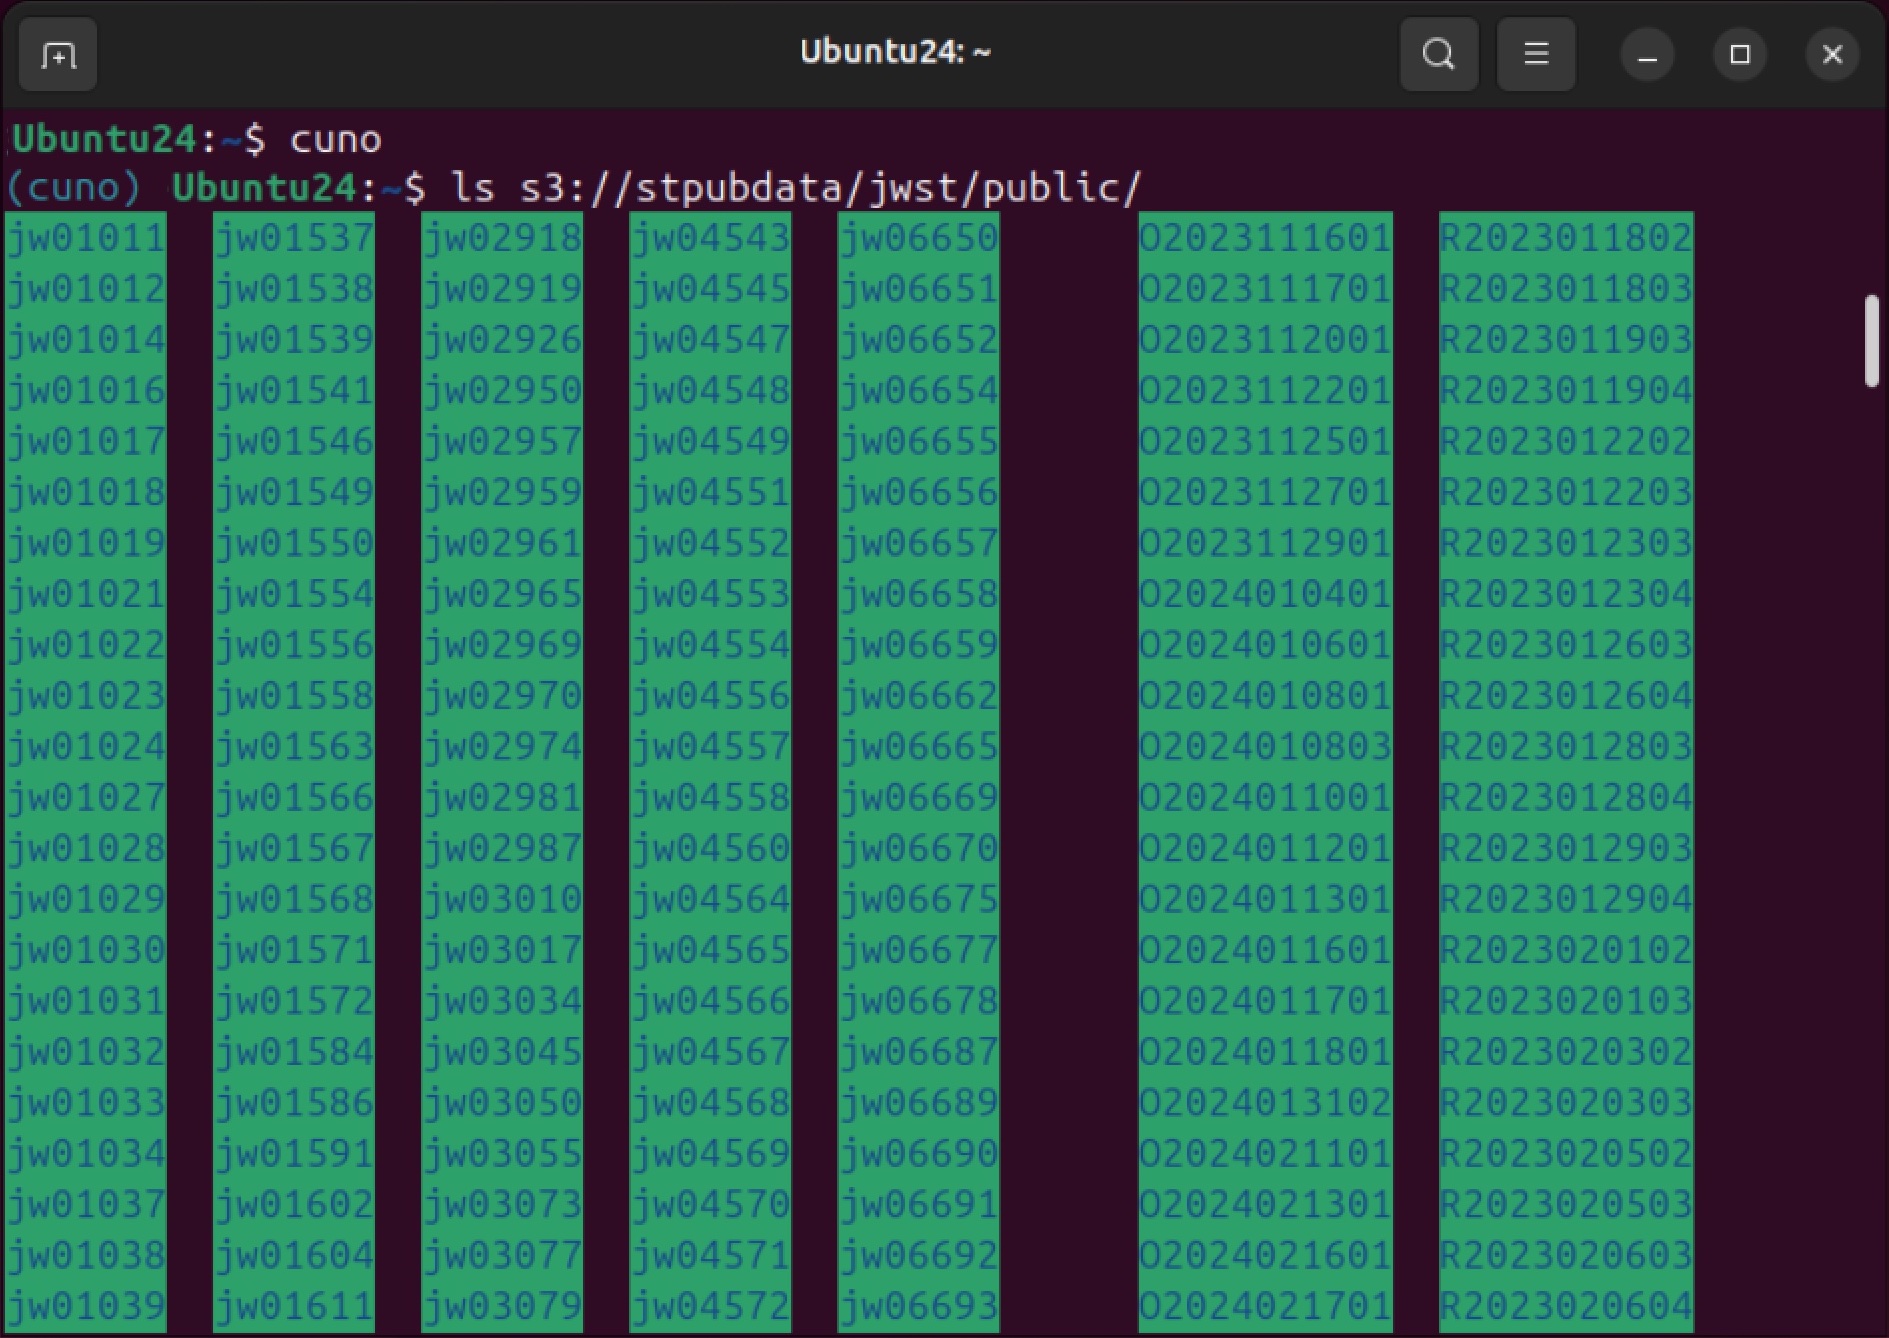
View image file listings from the James Webb Space Telescope on AWS S3:
Browse satellite images on Google Cloud Storage:

Step 2. Import S3 Credentials
In order to access and mount your private Object Storage buckets you will need to save your S3 credentials to a file.
Instructions on obtaining your credentials and saving them to a file can be found in the Appendix article: S3 Credential Management.
Once your credentials have been saved to a file on your Linux drive, proceed with the following steps:
2a. Import Your Credential File into Object Mount
Assuming you have saved your credentials to a file named credentials.txt, run the following command to add these credentials to the local set of Object Mount managed credentials:
This command will attempt to discover all the buckets that your credentials have access to, as well as the settings, limitations, and compatibility of these buckets. This may take a while if you have many buckets associated with the credentials you are importing.
You can display your imported credentials with the cuno creds list command:
Notice that a new credential file has been created with the .s3c extension, and that two buckets were found using the credentials.
Generated .s3c Credential File Location
The cuno creds import command creates an .s3c file with the corresponding bucket entries and adds appropriate configuration settings such as: region, URL path style, etc.
The default location for storing these imported credentials is the directory $XDG_CONFIG_HOME/cuno/creds (if unset, $XDG_CONFIG_HOME defaults to ~/.config).
To use an alternative location, set the CUNO_CREDENTIALS environment variable to point to your preferred path.
For example: export CUNO_CREDENTIALS=/home/user/my-cloud-credentials.
Note: You should not manually copy your credentials directly into these locations.
2b. Troubleshooting Credential Import
Purge and Re-Import:
If you encounter an issue and need to re-import your credential file, you must first remove the previously generated (and unwanted) .s3c credential file using the purge command:
See the Advanced Credential Options article for additional cuno creds details.
S3 Compatibility Check:
If you are using an S3-compatible service and are having problems, you can run a compatibility check using the detectfeatures command:
This command will iterate through multiple S3-compatibility tests, settings, and limitations, and then reconfigure and adjust the generated credentials .s3c file based on its findings.
Note: The bucket specified must permit write access to allow for the creation of temporary files for testing purposes.
Feature Detection: Bandwidth & Time Usage
Running feature detection may use up to a few gigabytes of bandwidth and may take a several minutes to complete depending on the machine’s connection speed and the S3 storage provider.
Step 3. Test Connectivity to Your Private Object Storage Bucket(s)
Once your credentials have been successfully imported you can test access to your private buckets.
3a. Enter Object Mount’s CLI Console (aka “cunoFS”)
From a Linux shell prompt enter the
cunocommand:You should see the
(cuno)CLI prefix to the left of your user prompt. This indicates that a new shell has been launched, wrapped in Object Mount’scunowrapper:
3b. Access Your Bucket’s Contents
Select your Object Storage Provider below for the appropriate commands to:
- View buckets
- View files
- Create files
- Display files
- Delete files
List your accessible buckets:
List files and folders in a bucket:
Create a new object in your bucket
Display that new file back to the console:
Delete that new file:
3c. Exit Object Mount’s CLI
Enter exit at any time to close the Object Mount CLI console and return to the unwrapped shell prompt: